
 Price: $109.99
|
 Price: $199.99
|
 Price: $159.99
|
 Price: $89.99
|
 Price: $89.99
|
 Price: $99.99
|
Speaker Light Kits
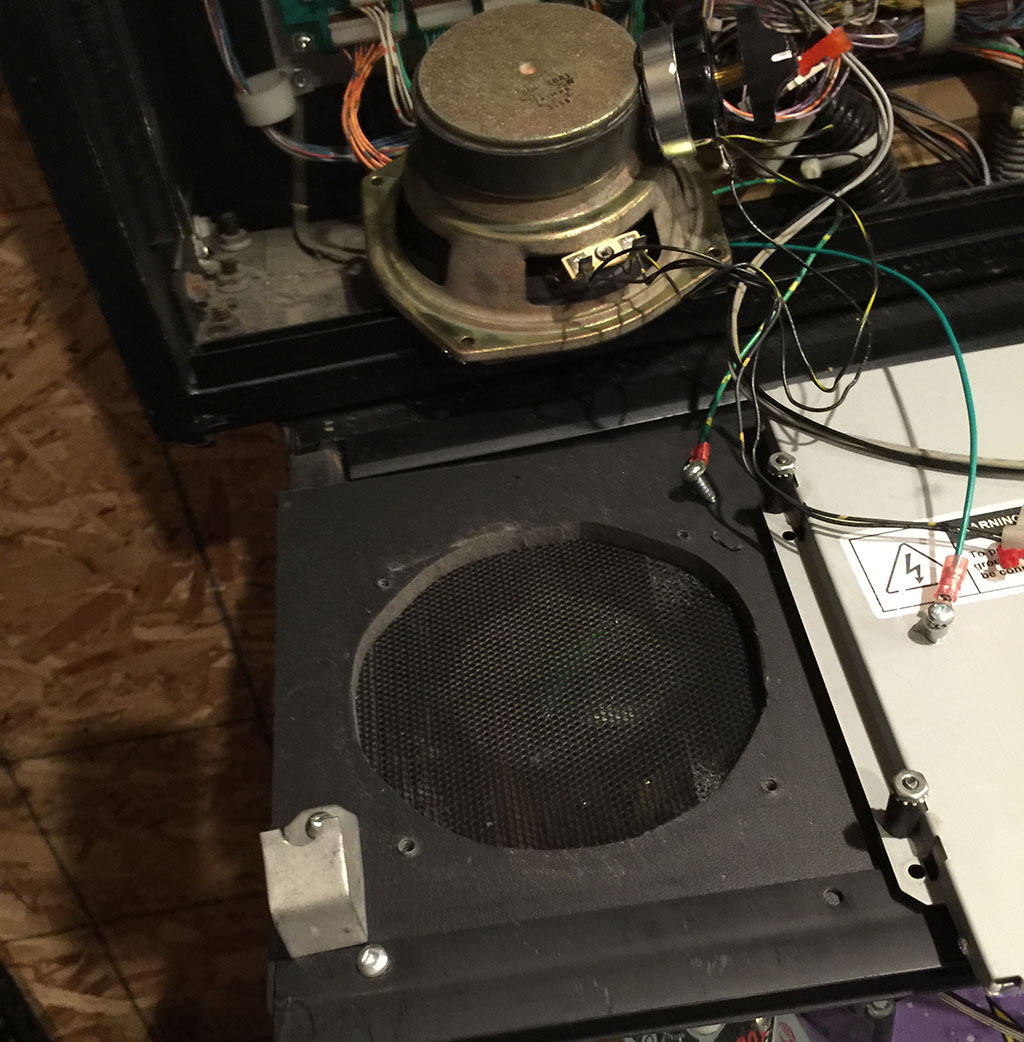
- Fold the speaker panel down exposing the speakers.
- Remove the right speaker and set it aside. Leave the wires connected. There will be 2-4 screws. This varies per game.
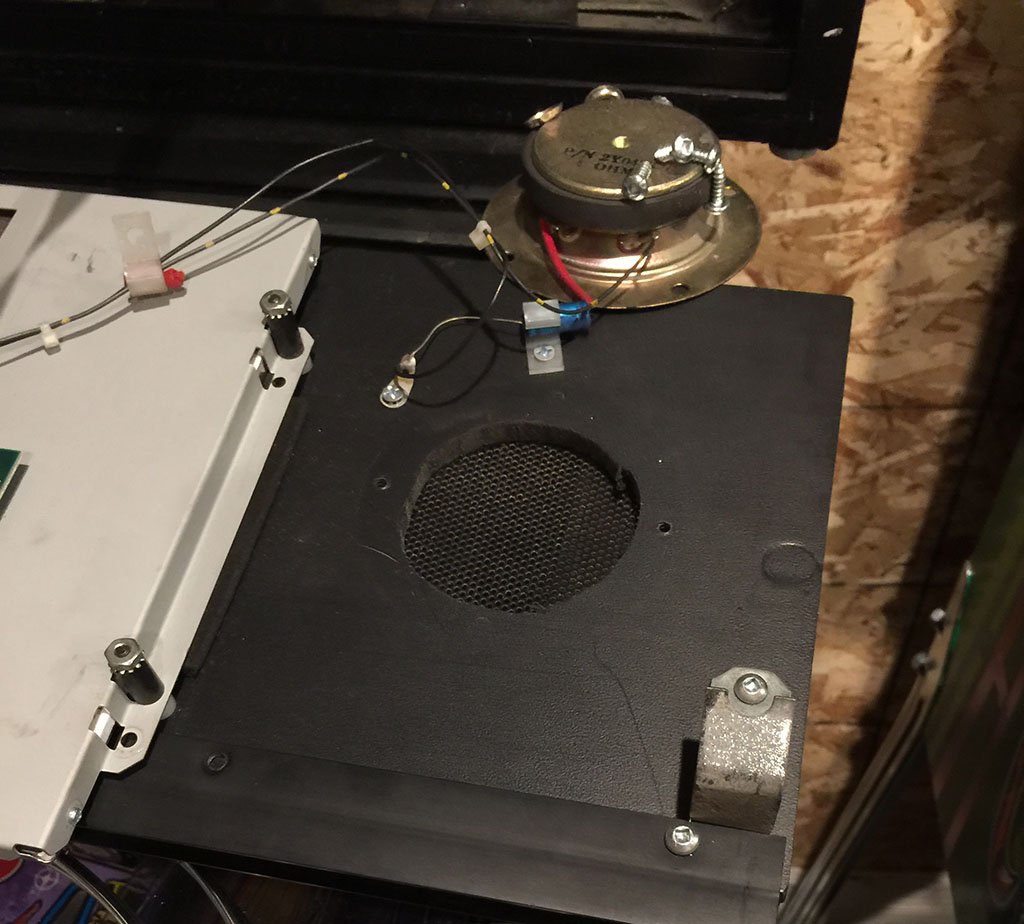
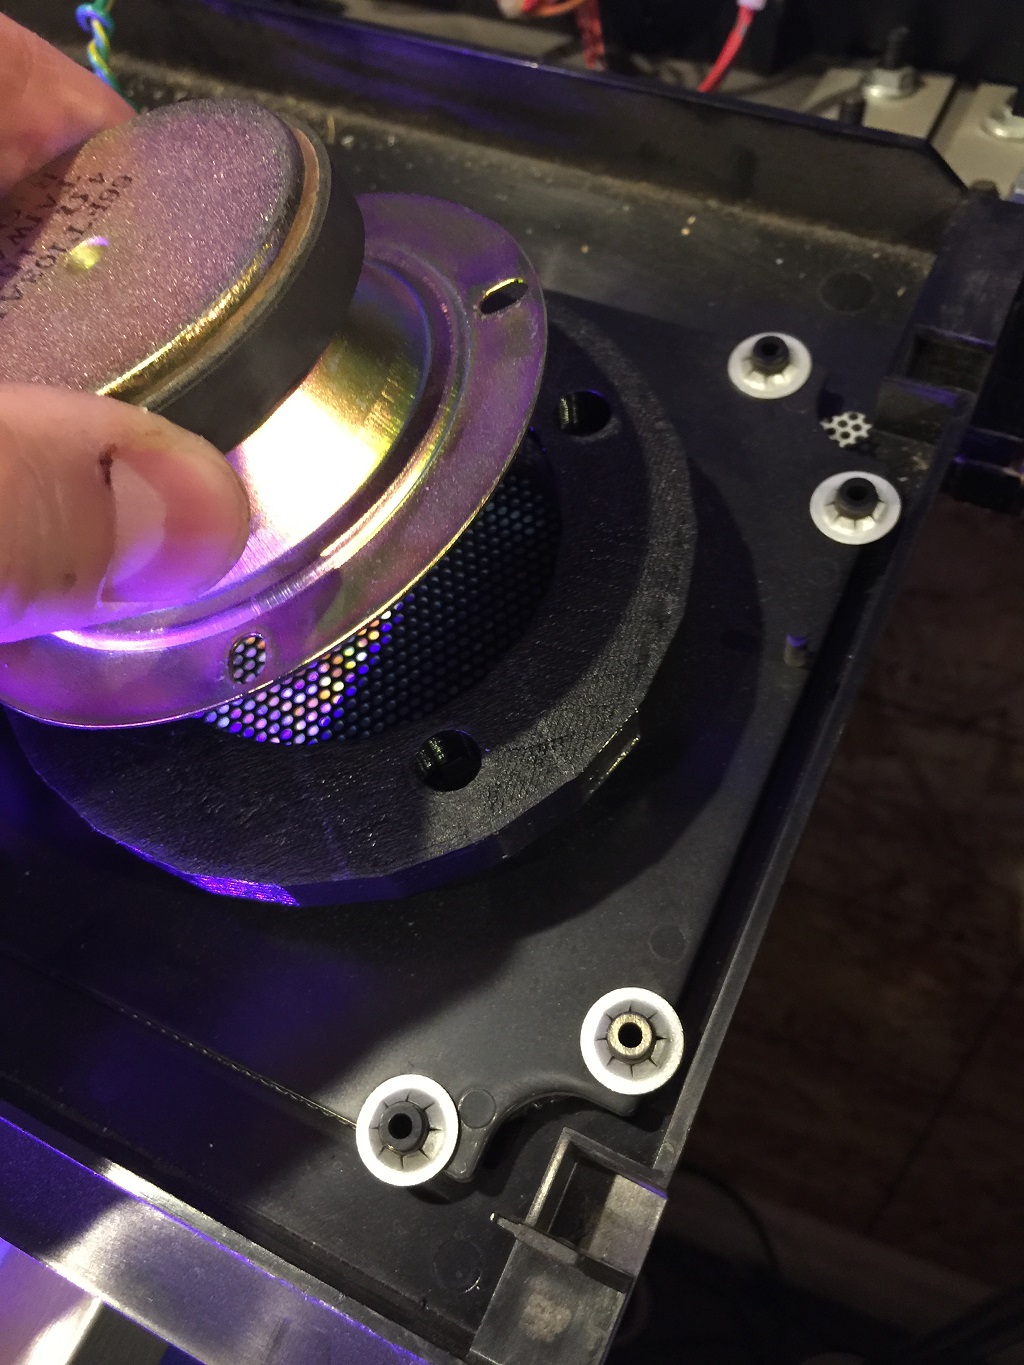
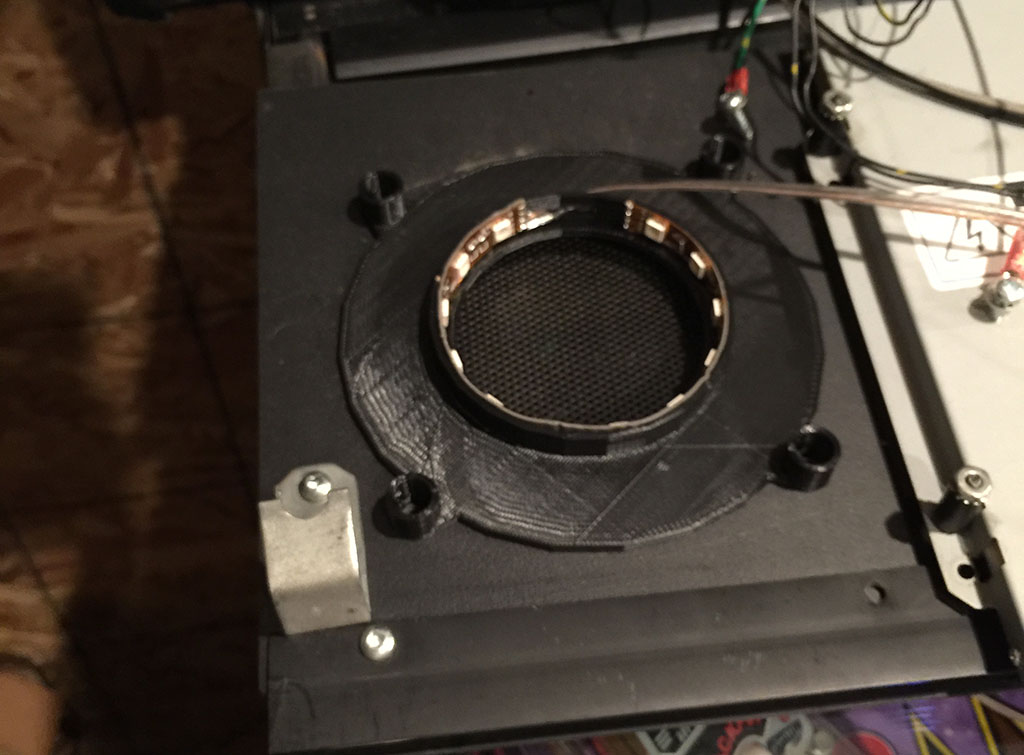
- Place the smaller speaker bracket down and center it over the screw holes. The wires should put away from you (down, when the panel is put back in place). Update: place the bracket face down so that the smooth plastic is touching the speaker. This avoids the speaker shorting into the wires. Do it just like the photo below.
- Line up the speaker on the bracket. Again, the speaker wires should run away from you.
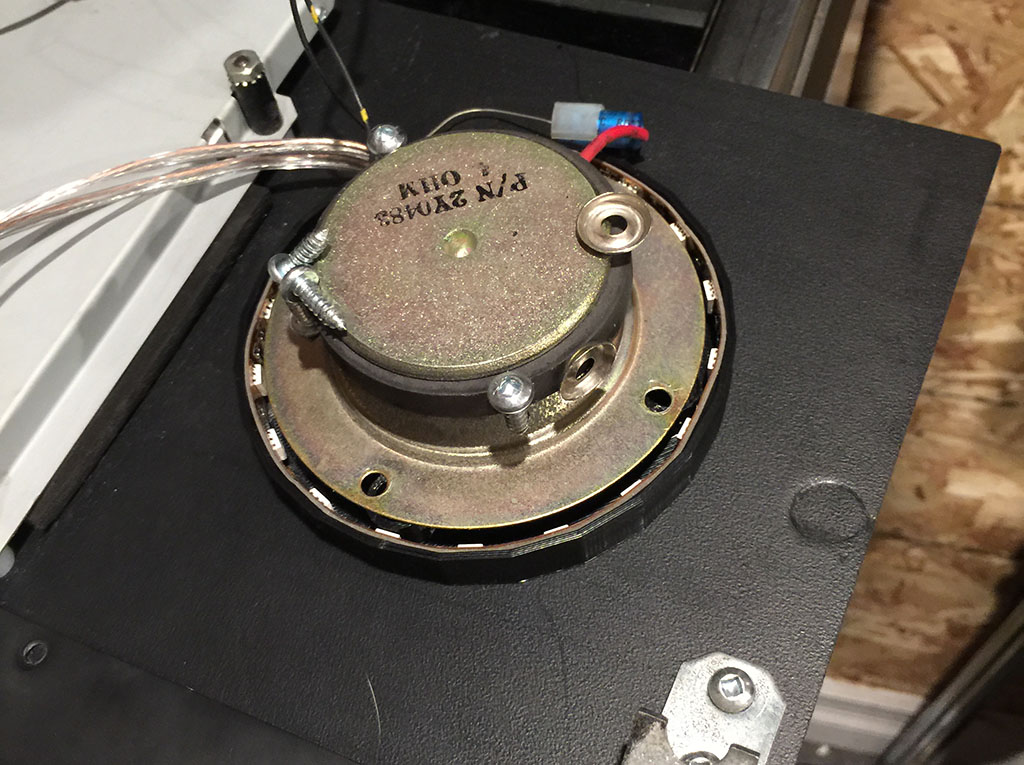
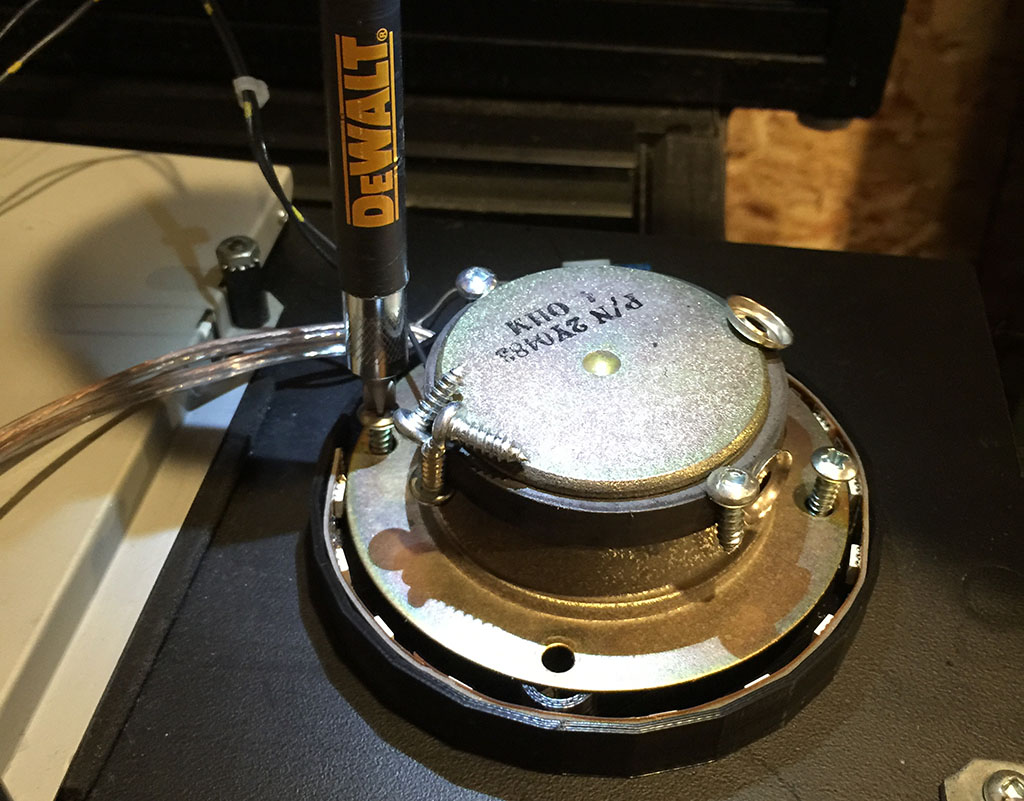
- Secure the speaker with the screws we provide. DO NOT OVER TIGHTEN!! These need to be barely tight enough to hold the speaker. No more. For WPC95, you will be screwing into plastic. Use the wood style screws we provide. For WPC, some are threaded and some are not. The photo above is not threaded and uses th e wood style screws we provide. Most are actually threaded and use the threaded screws we provide. If our threaded screws are too long for your right speaker then use the screws you removed from your left speaker to secure the bracket and our right speaker or space it out with several washers. (While 4 screws won't hurt, you only need 2 screws across from each other to hold this small speaker in place securely).
- Remove the left speaker and set aside.
- Attach the larger bracket on left side centering over the screw holes with wires running away from you again.
- Line up the speaker over the bracket holes.
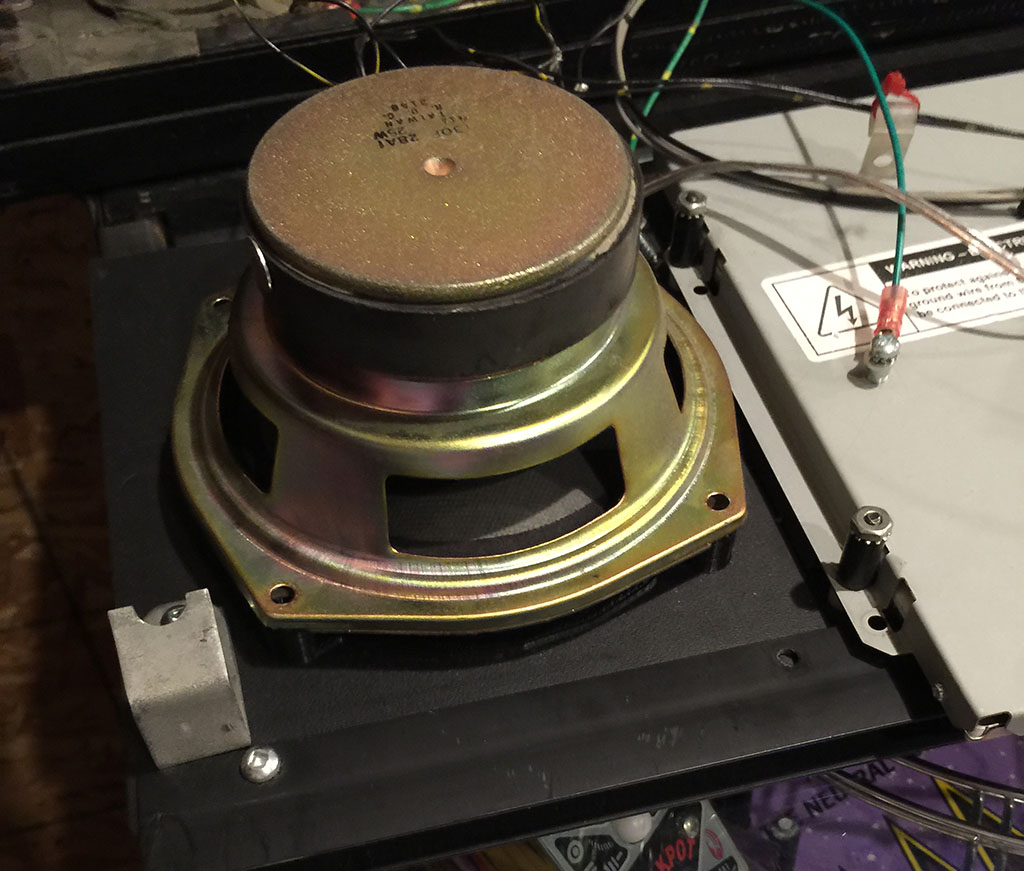
- Secure the speaker through the bracket.

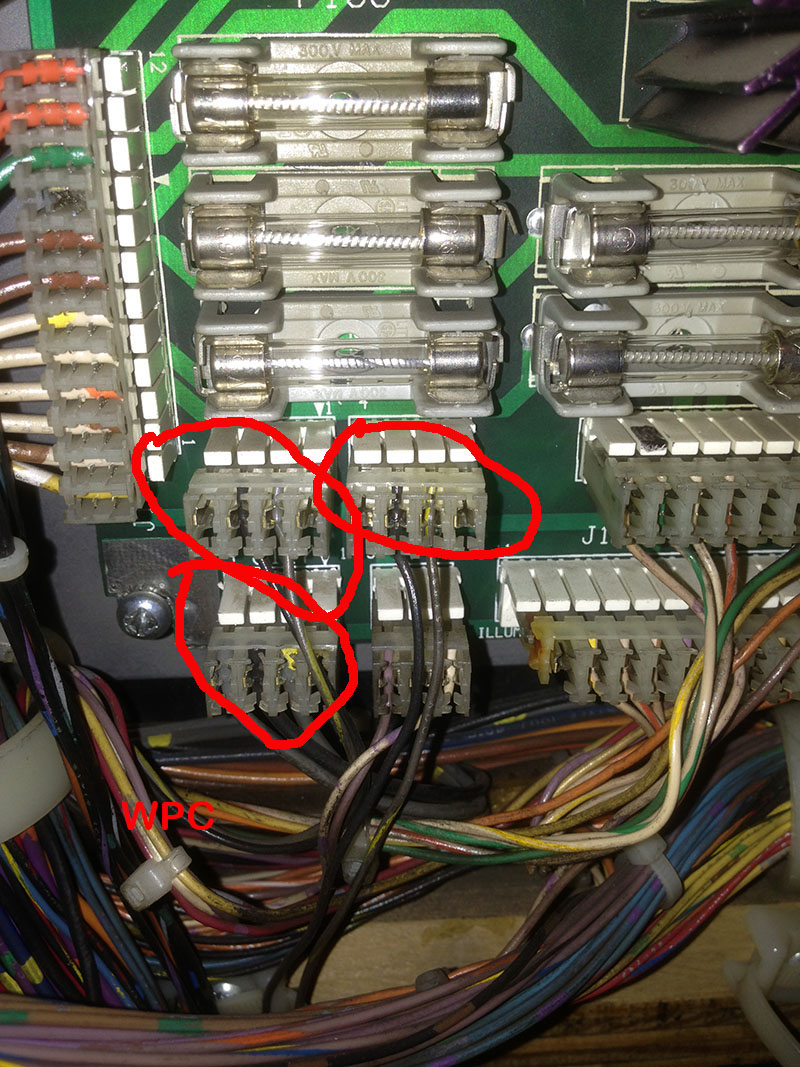
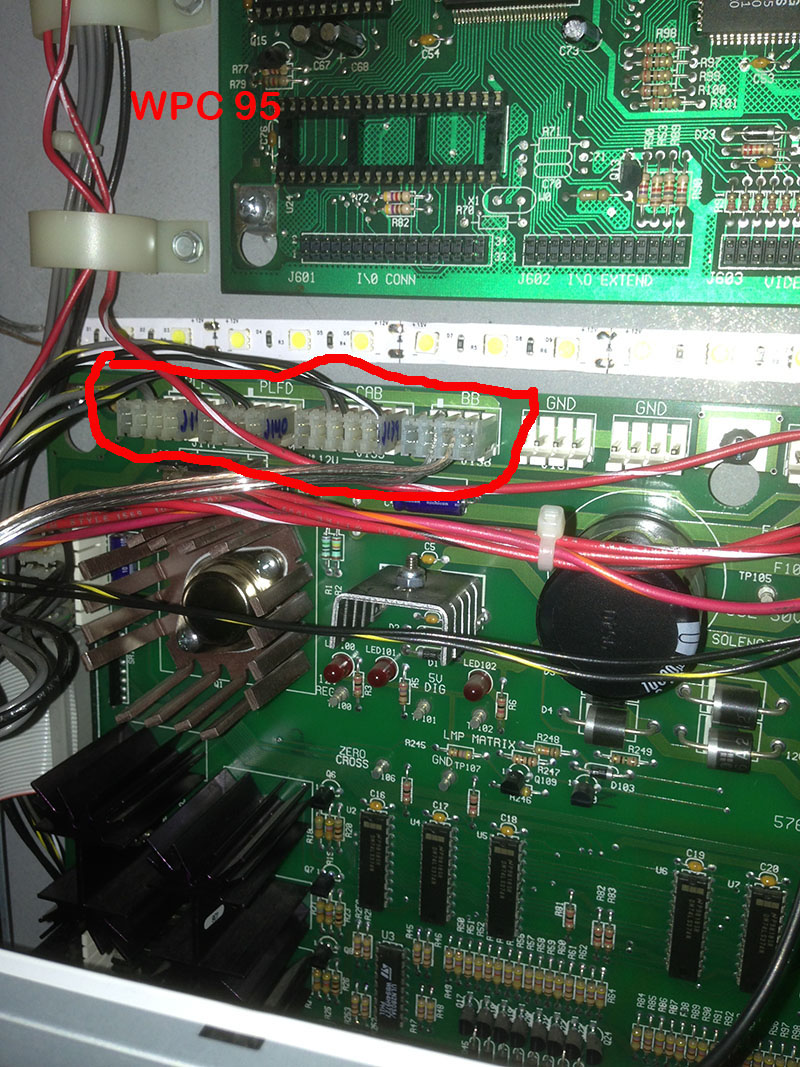
- Attach the power cables. For WPC, this will be J116, J117, J118. For WPC95, this is J138, J139, J140, J141. We only pass through 2 wires. So make sure and use an empty plug or one with 2 wires on the connector not 3. See step #7 here for a lot more photos and details on this step.
- You're done!


