|
Price: $209.99
|
Price: $209.99
|
Price: $119.99
|
|
Price: $119.99
|
Price: $149.99
|
Price: $129.99
|
WPC light strip installation
The light strip is one of the best modifications you can add to your machine. Our light strips come pre-wired for 12vdc. You will need to attach the light strip then run the wires into the backbox and splice into 12vdc power. The WPC light strip kits come prewired ready to plug into the power driver board and daisy chain the existing connector.
- First, remove the glass and pull the playfield onto its supports.
- The light strip will be mounted pointing down in the very back of the machine. It should point down right in front of the backboard of the playfield. The base of the top of the cabinet has a smooth ledge. This is a good spot to mount the light strip. Another option is to mount it to the bottom of the plastic glass channel. I prefer the bottom of the glass channel because the tape seems to stick a little better there.
This shows where to mount the strip using a metallica as an example:
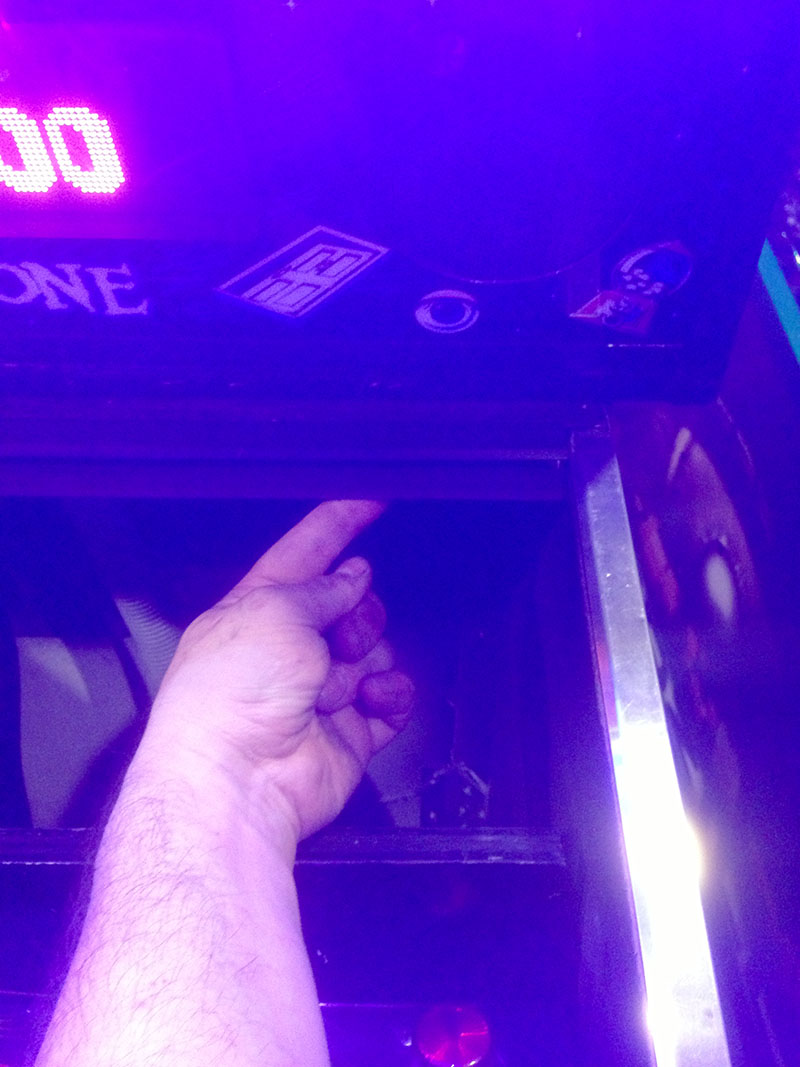
In either case, clean the ledge of the cabinet with alcohol and dry it with a towel. Make sure it's dry in order to stick.
- Peel the sticky tape back off the light strip.
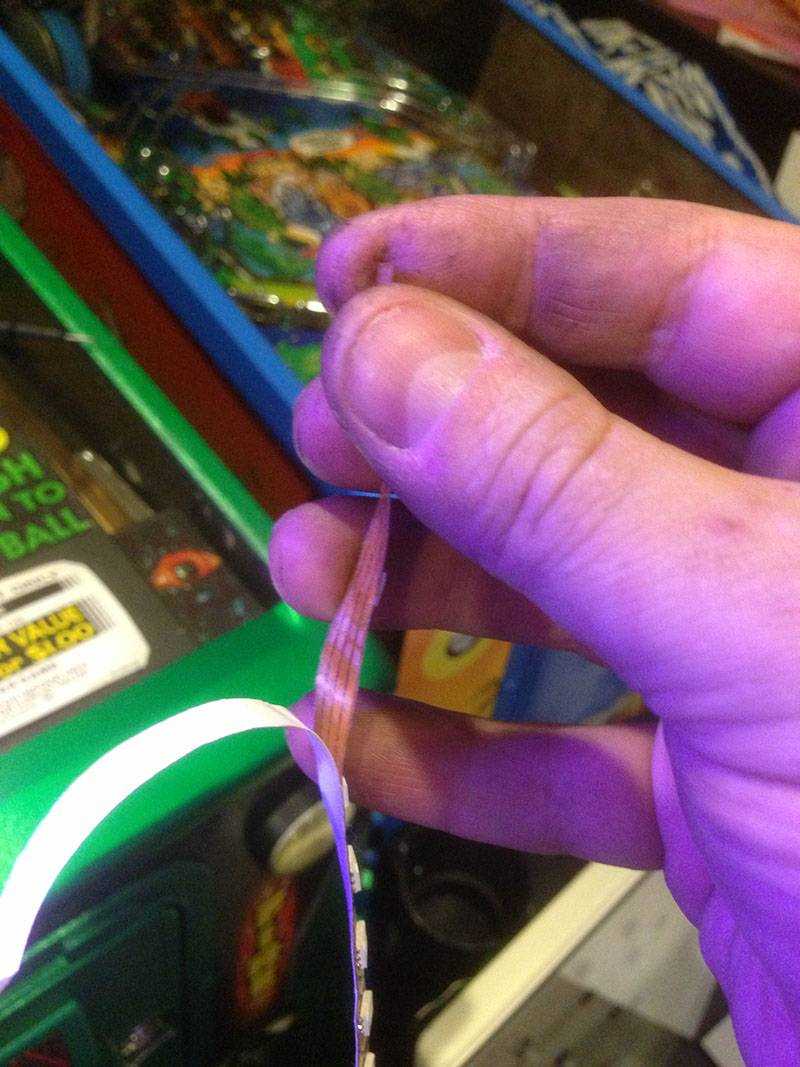
- Attach the light strip with the wires on the left side. Run the wires back and into the head.
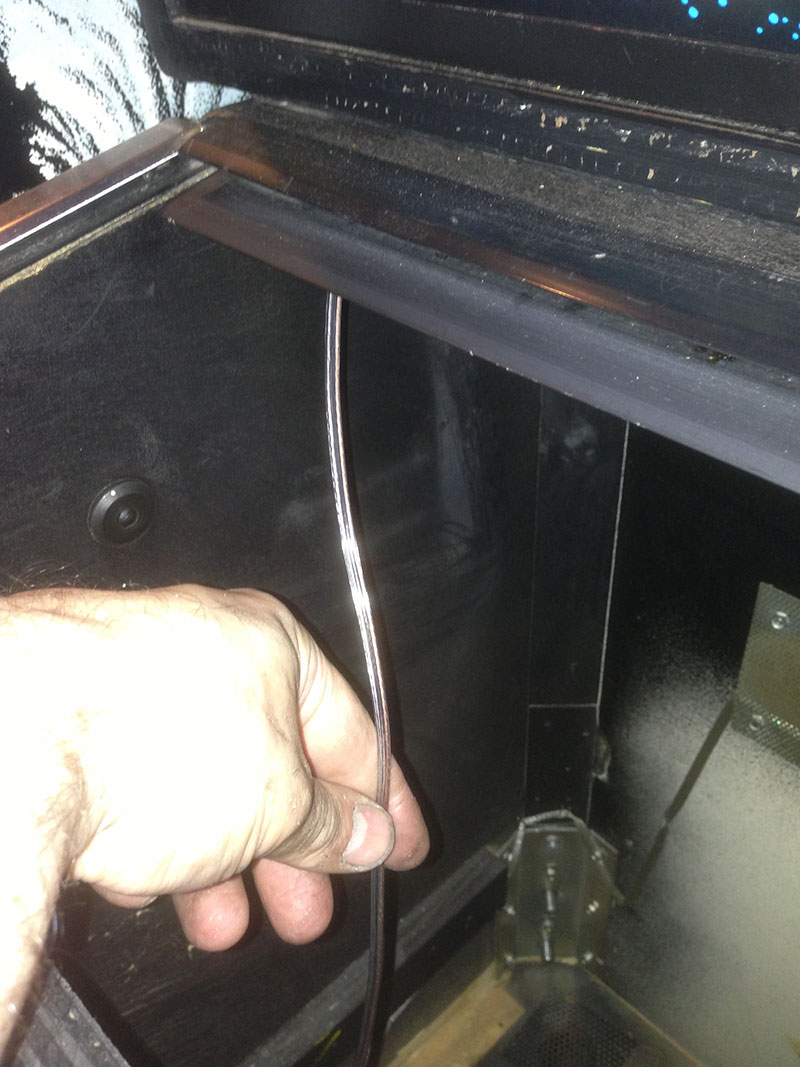
- Optional, but recommended. Get some black gorilla tape
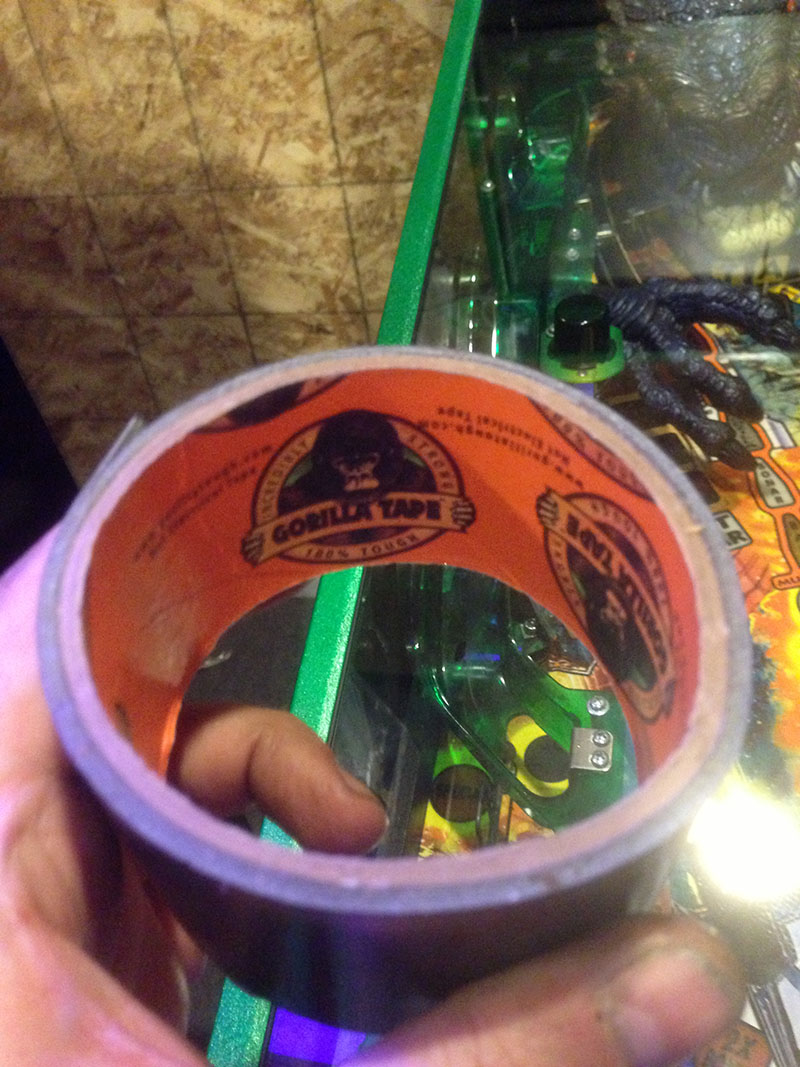
and tape the wires to the head and out of the way to the back of the cabinet so that you don't have to constantly push them out of the playfield after pulling and pushing the playfield back into position.
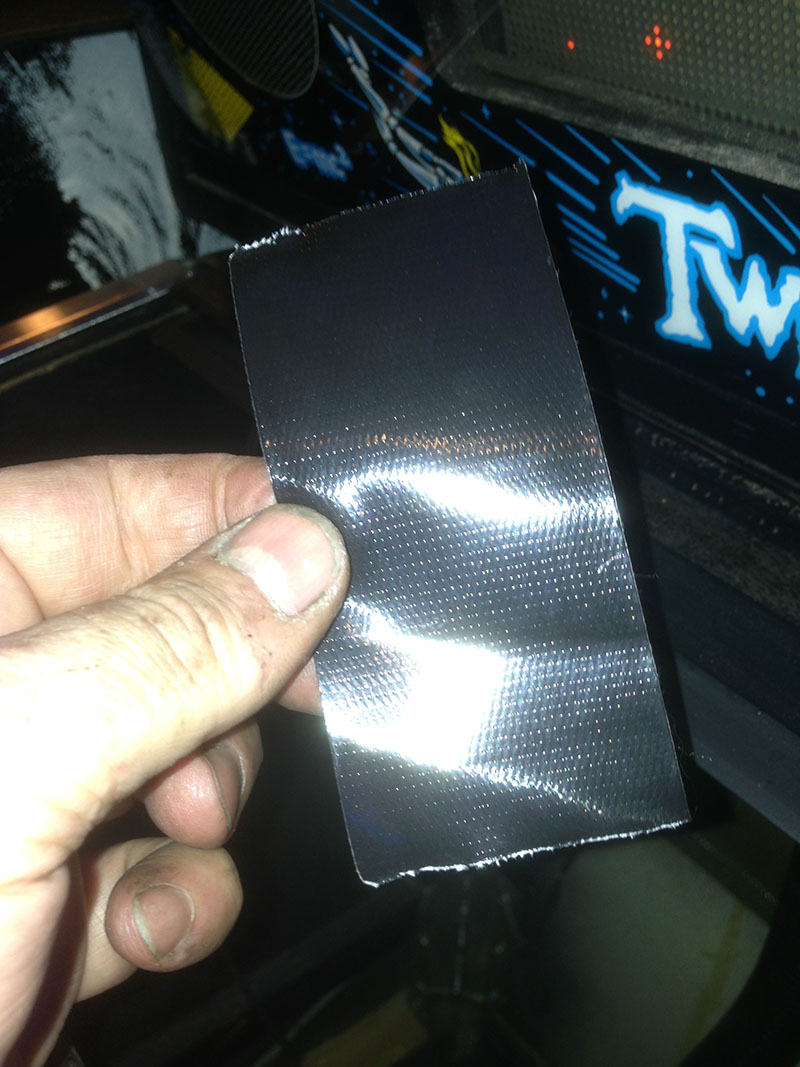
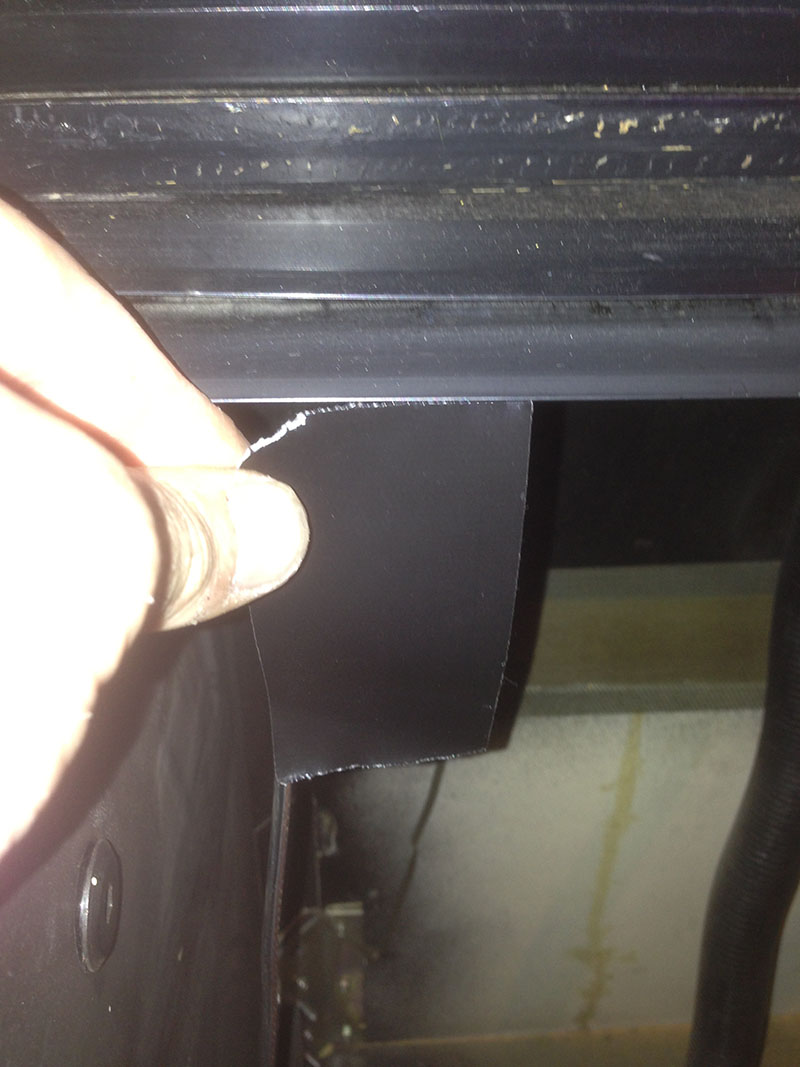
Here is what the underside looks like with the light strip gorilla taped. It's ok to cover part of the leds. There are plenty of leds on the strip even if some are covered.
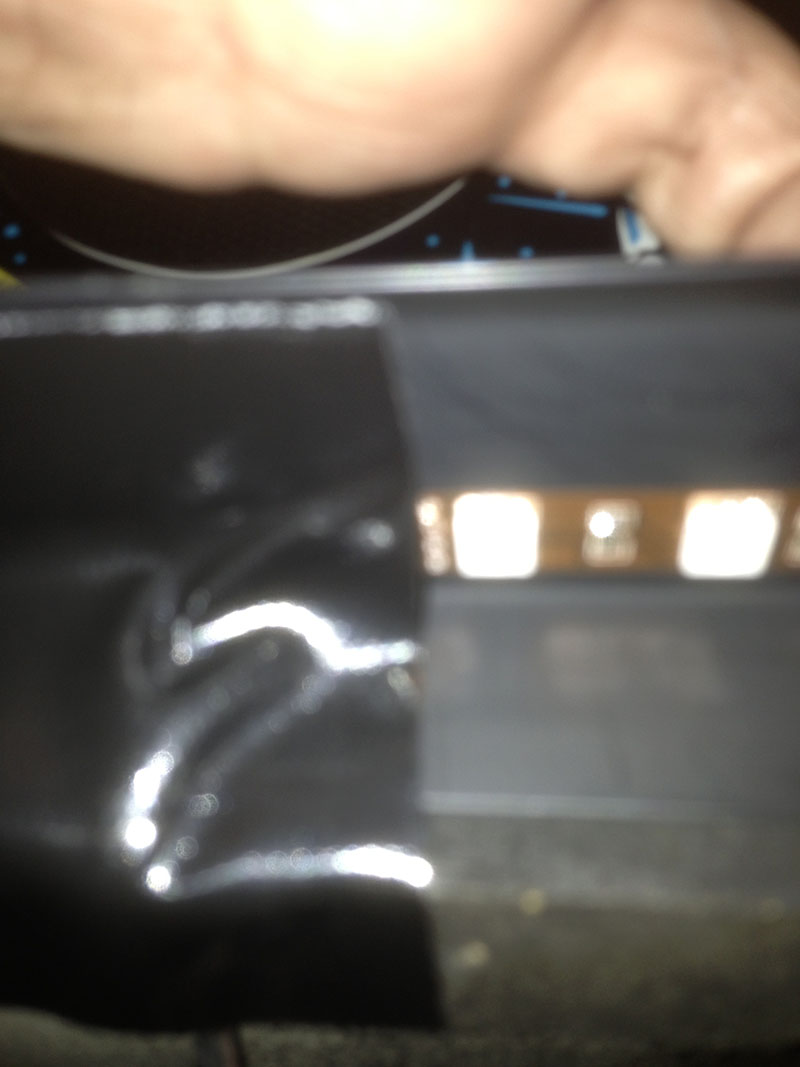
- Remove the translite and fold down the speaker panel, grab the wires and pull them into the head. The wires are intentionally very long so that there is plenty of slack when the head is folded down.
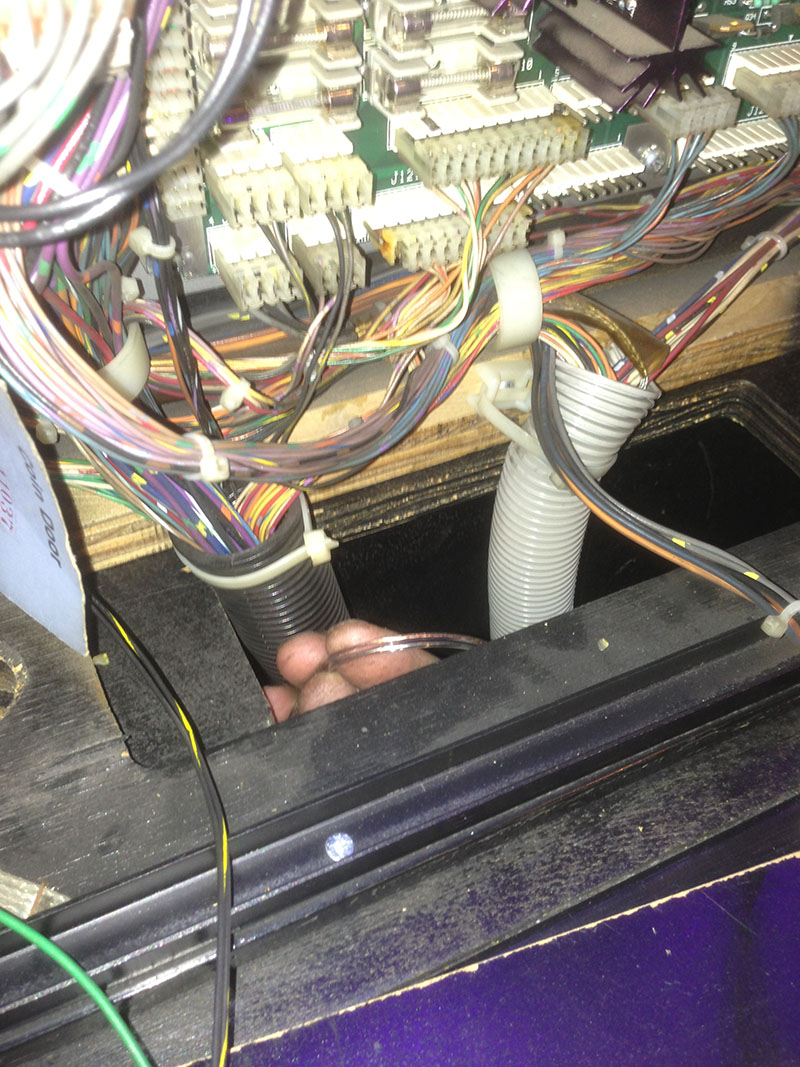
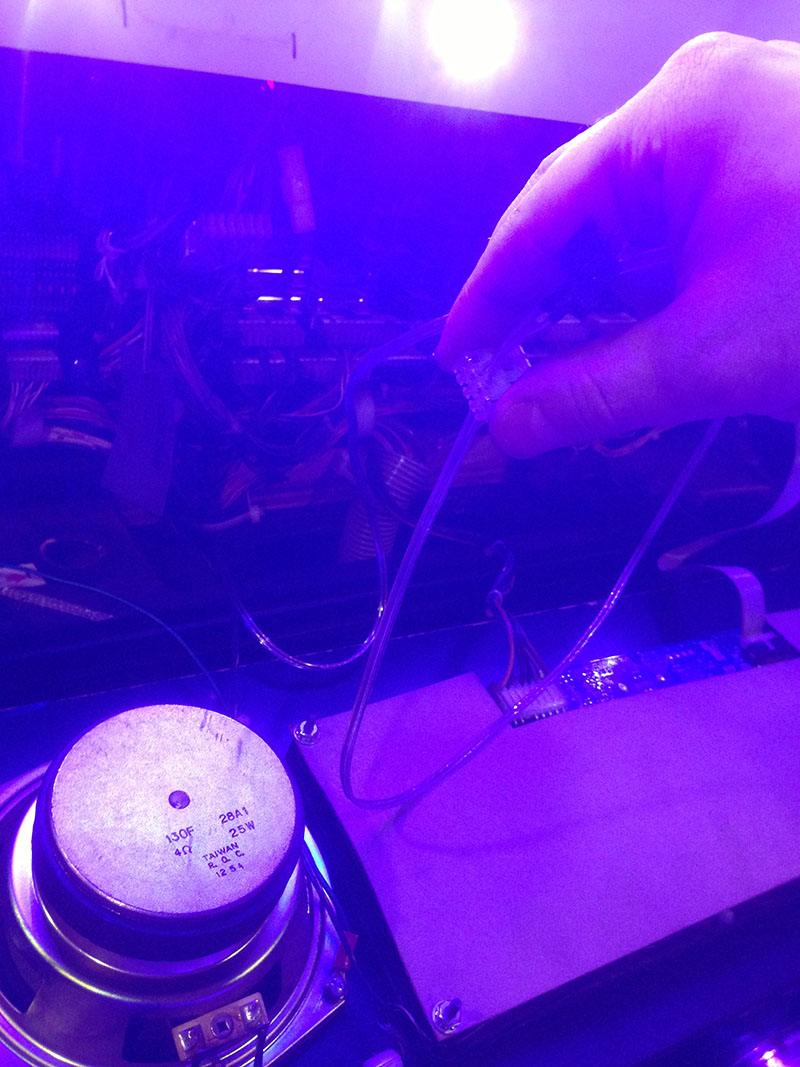
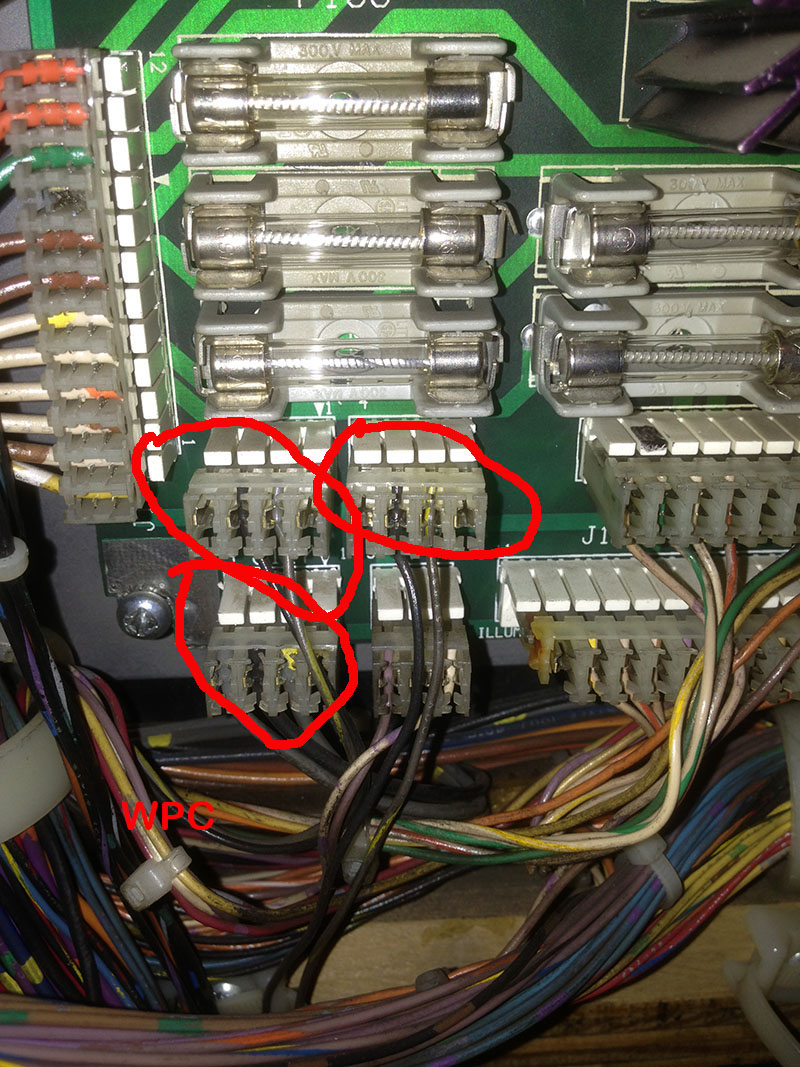
- The light strip comes with a connector for the power driver board. For WPC, this will go in J116, J117, or J118 on the bottom left of the power driver board. On WPC95, this will go into J139, J140, or J141 of the power driver board on the upper left.
The connectors are interchangeable and all present 5v and 12v power. Some of the connectors will be 2 wire (12v and ground). Others will be 3 wire (5v, 12v, and ground). We will want to use one of the 2 wire connectors. in the picture below, the two top connectors are two wires. Either of these will work.
Or for WPC95, it would look like this:
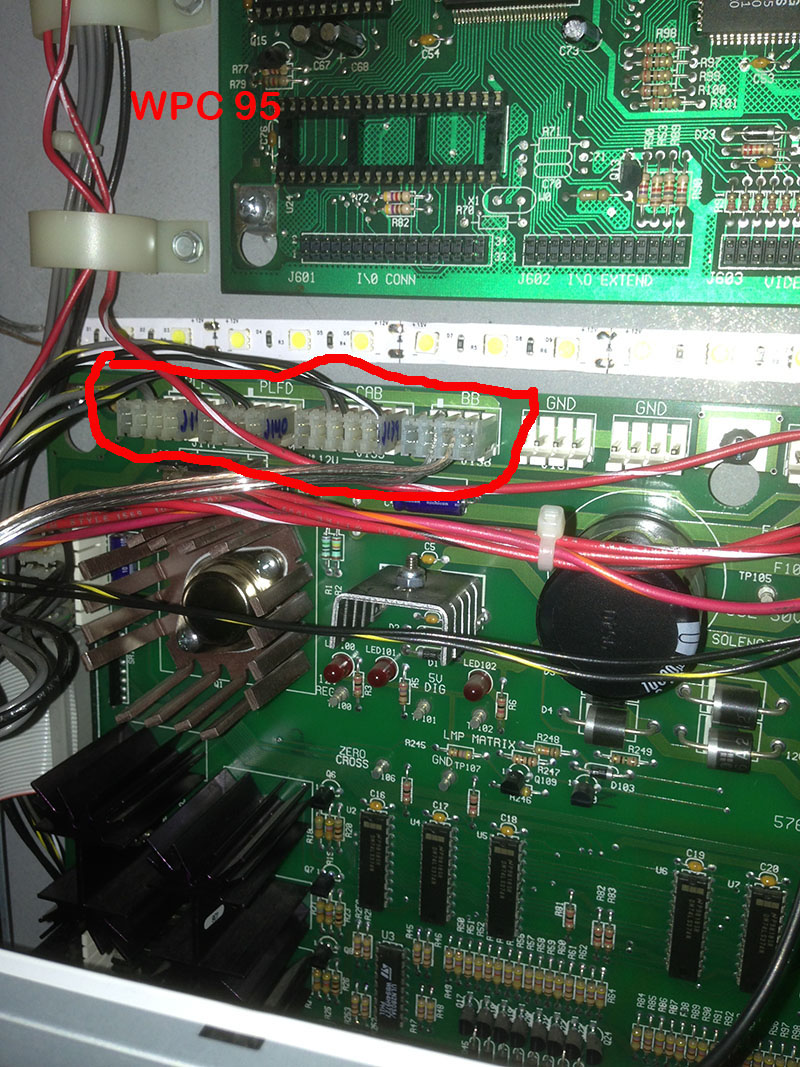
In this example, we pull J116.
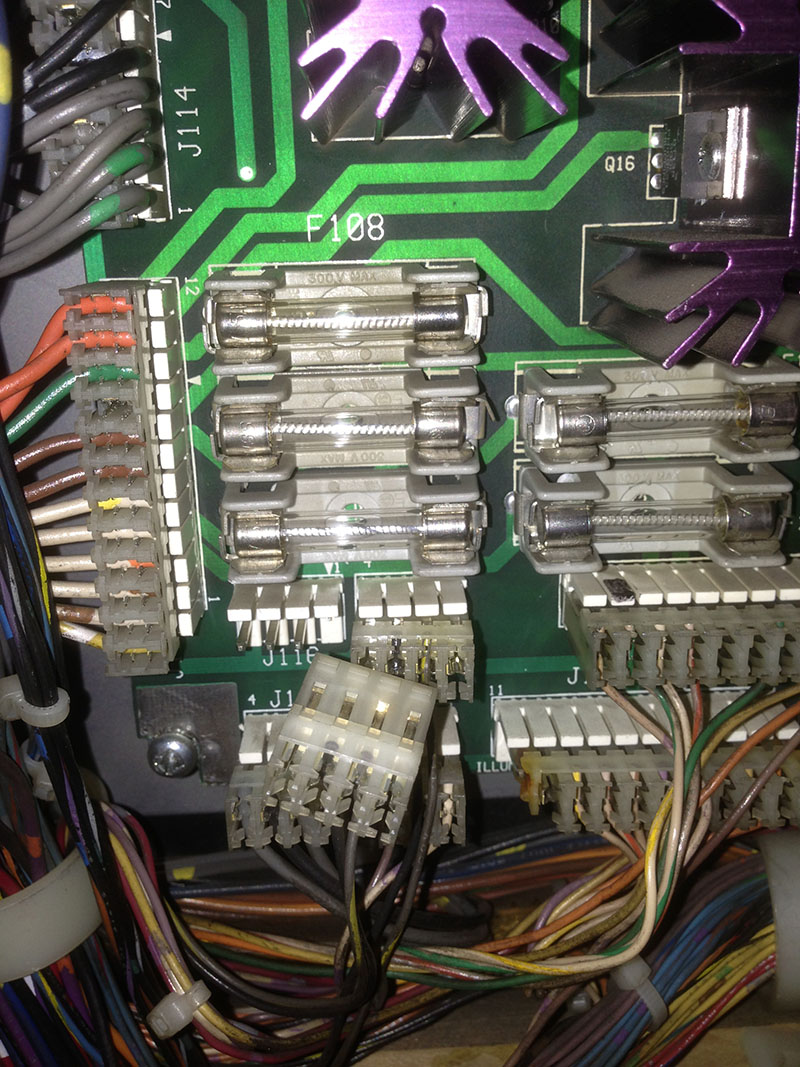
Replace it with our wire harness
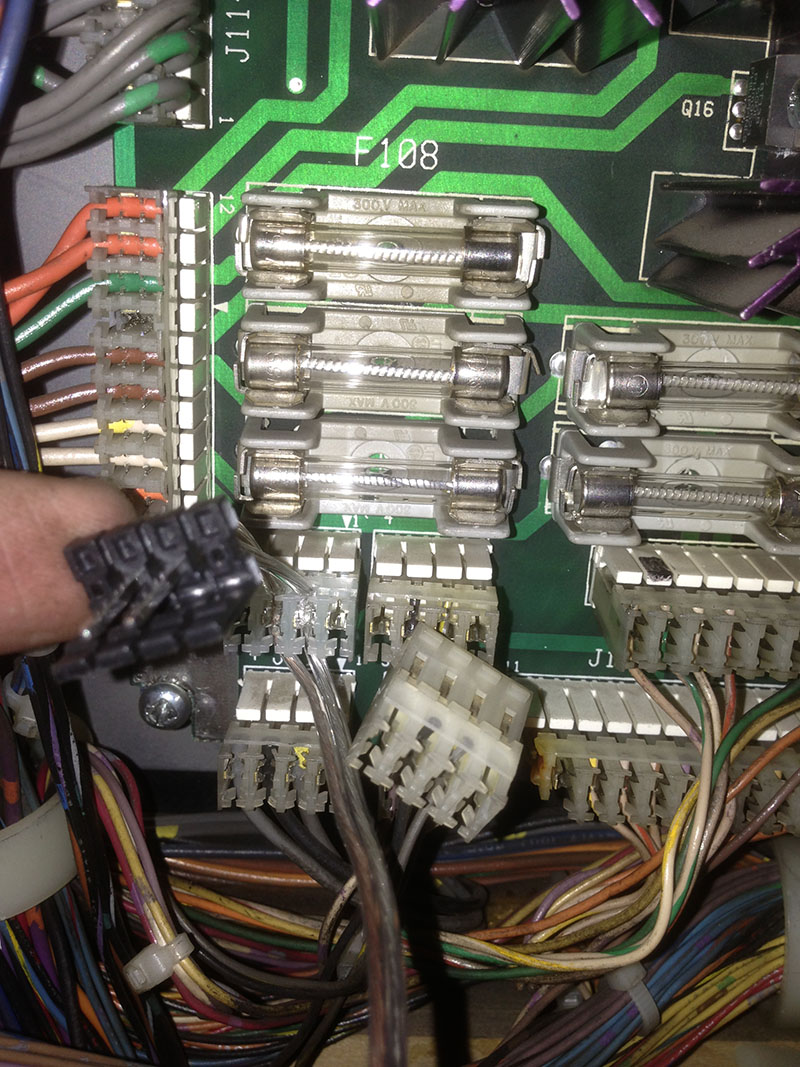
Then plug what used to be in J116 into the black part of the wiring harness on the light strip.
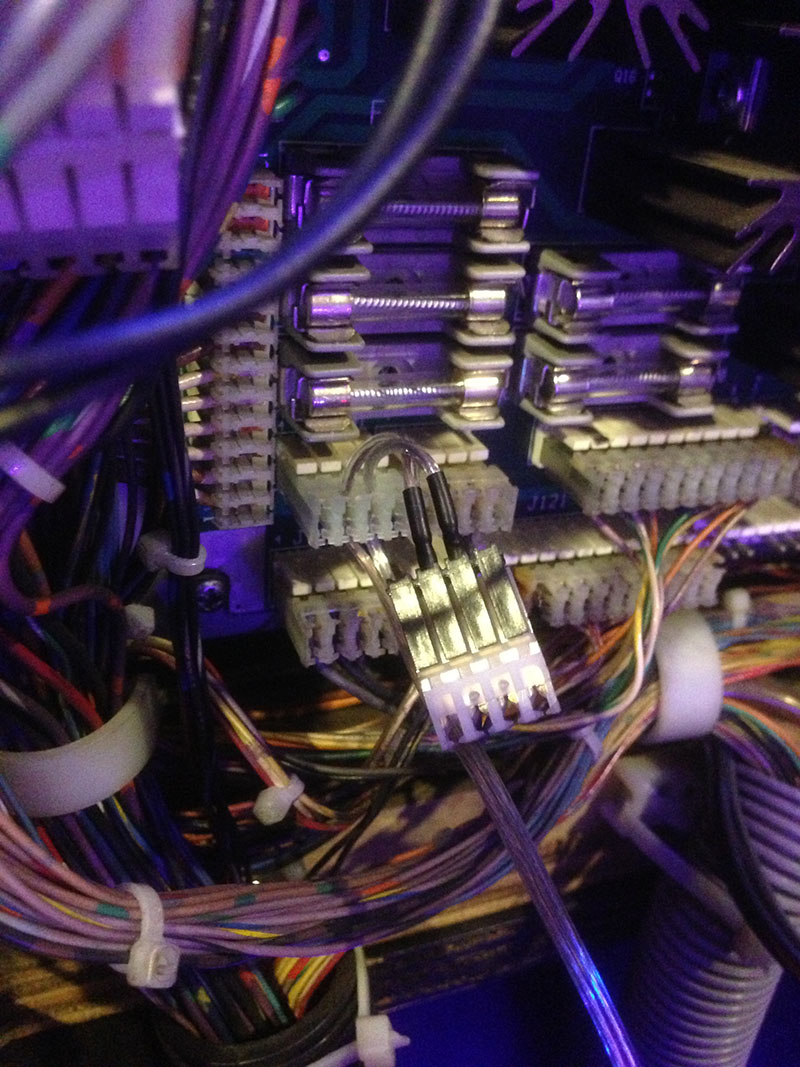
Power on the system and you should see the light strip shining intense light onto the playfield. You know your installation is completed because you cannot get the smile off your face :)
