|
Price: $209.99
|
Price: $209.99
|
Price: $119.99
|
|
Price: $119.99
|
Price: $149.99
|
Price: $129.99
|
Americas Most Haunted Brightening Kit Installation
Thank you for purchasing our America's Most Haunted (AMH) brightening kit. This kit was created to light an already beautiful game so that it could be played and enjoyed in the dark or any room with low light. Each kit was hand crafted, calibrated, and tested in our AMH game. The kit takes a bit of time to install, but we believe it will be worth it. Please follow the instructions below carefully. If you have any questions, please contact us for support. Installation should take about 1 hour. Nothing is permanent and can easily be removed. Please be patient and take your time while installing.
Lets get started.
- Unpack the kit. The kit comes packed tightly. It should look similar to the WoZ kit pictured below.
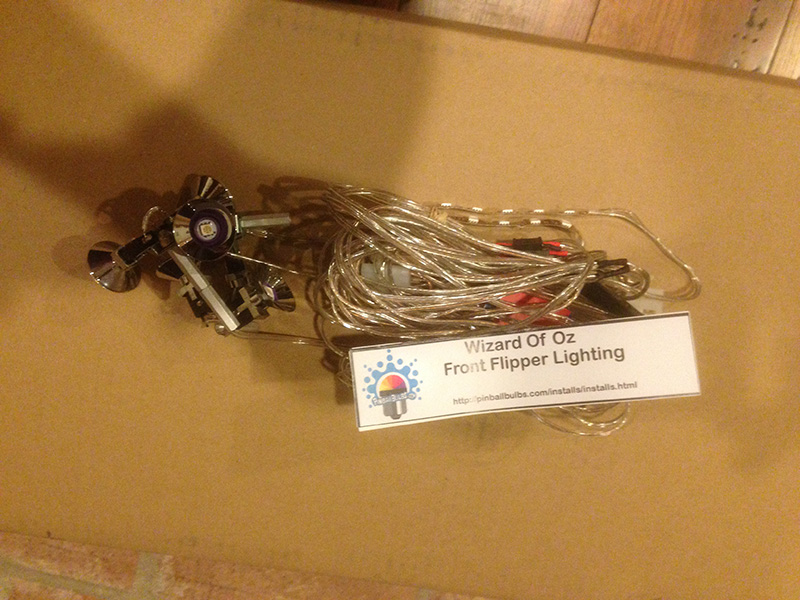
There are a lot of wires to unpack. So first we should unpack and untangle the kit. Be very careful so that none of the solder wires get tugged out of place.
There are distinctive parts to each kit that will be referred to in these instructions.
The spotlights:
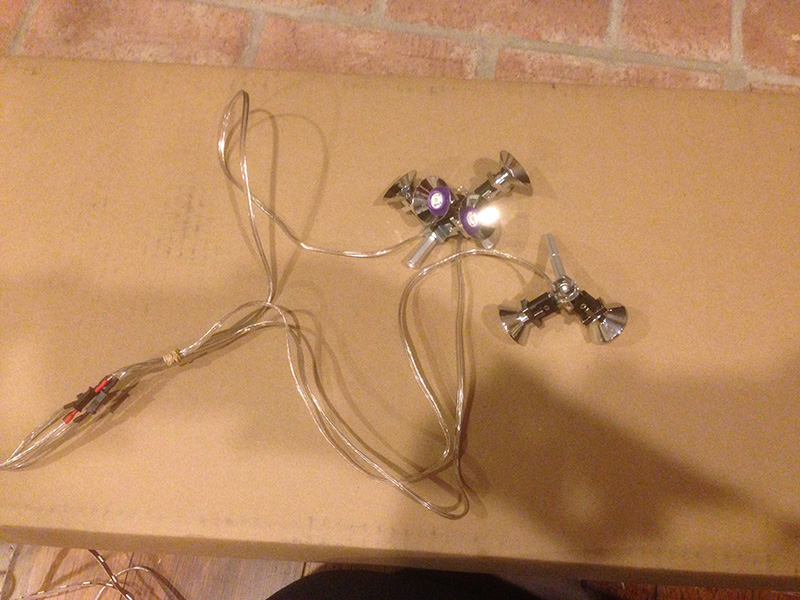
- The elements will each attach to their respective areas on the playfield and plug into the power section at the end to power up.
- Before we get started, please plug the power connector into the backbox connector on your AMH and make sure that the light strips power on as well as the game still working with the connector plugged into the daisy chain black header. It's best to make certain of this prior to installing anything. These plug into the top of the board in the head.
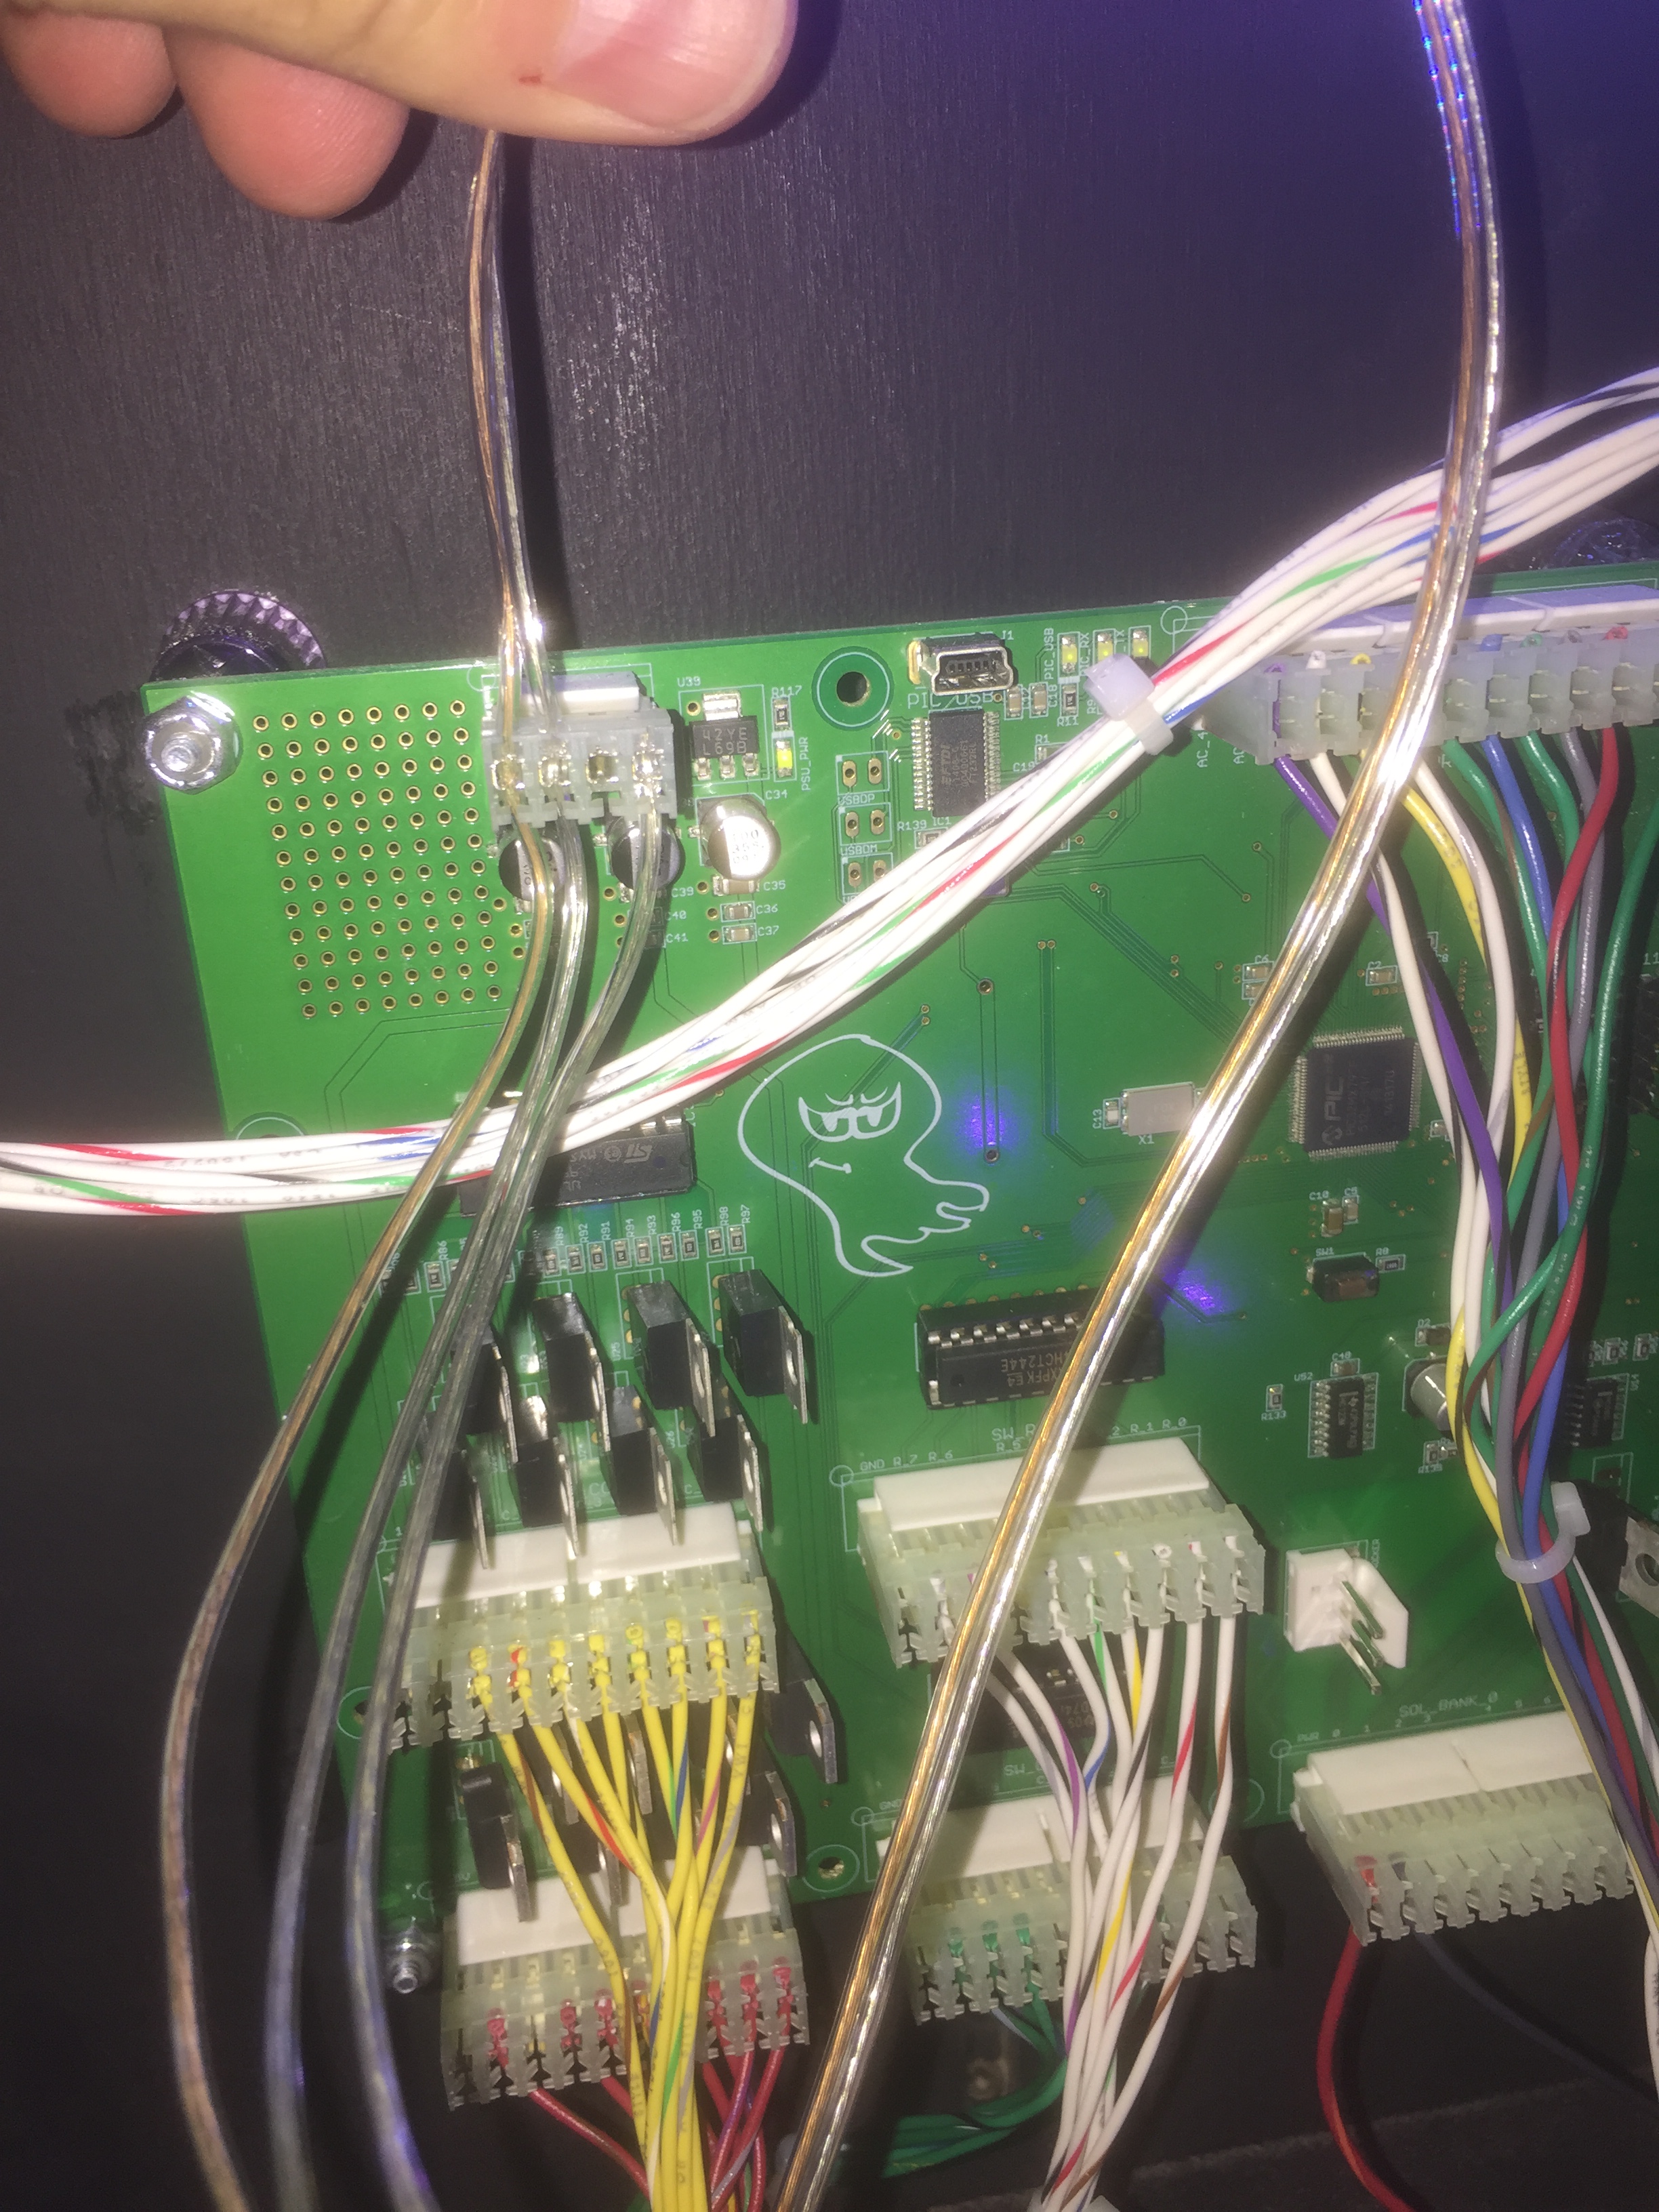
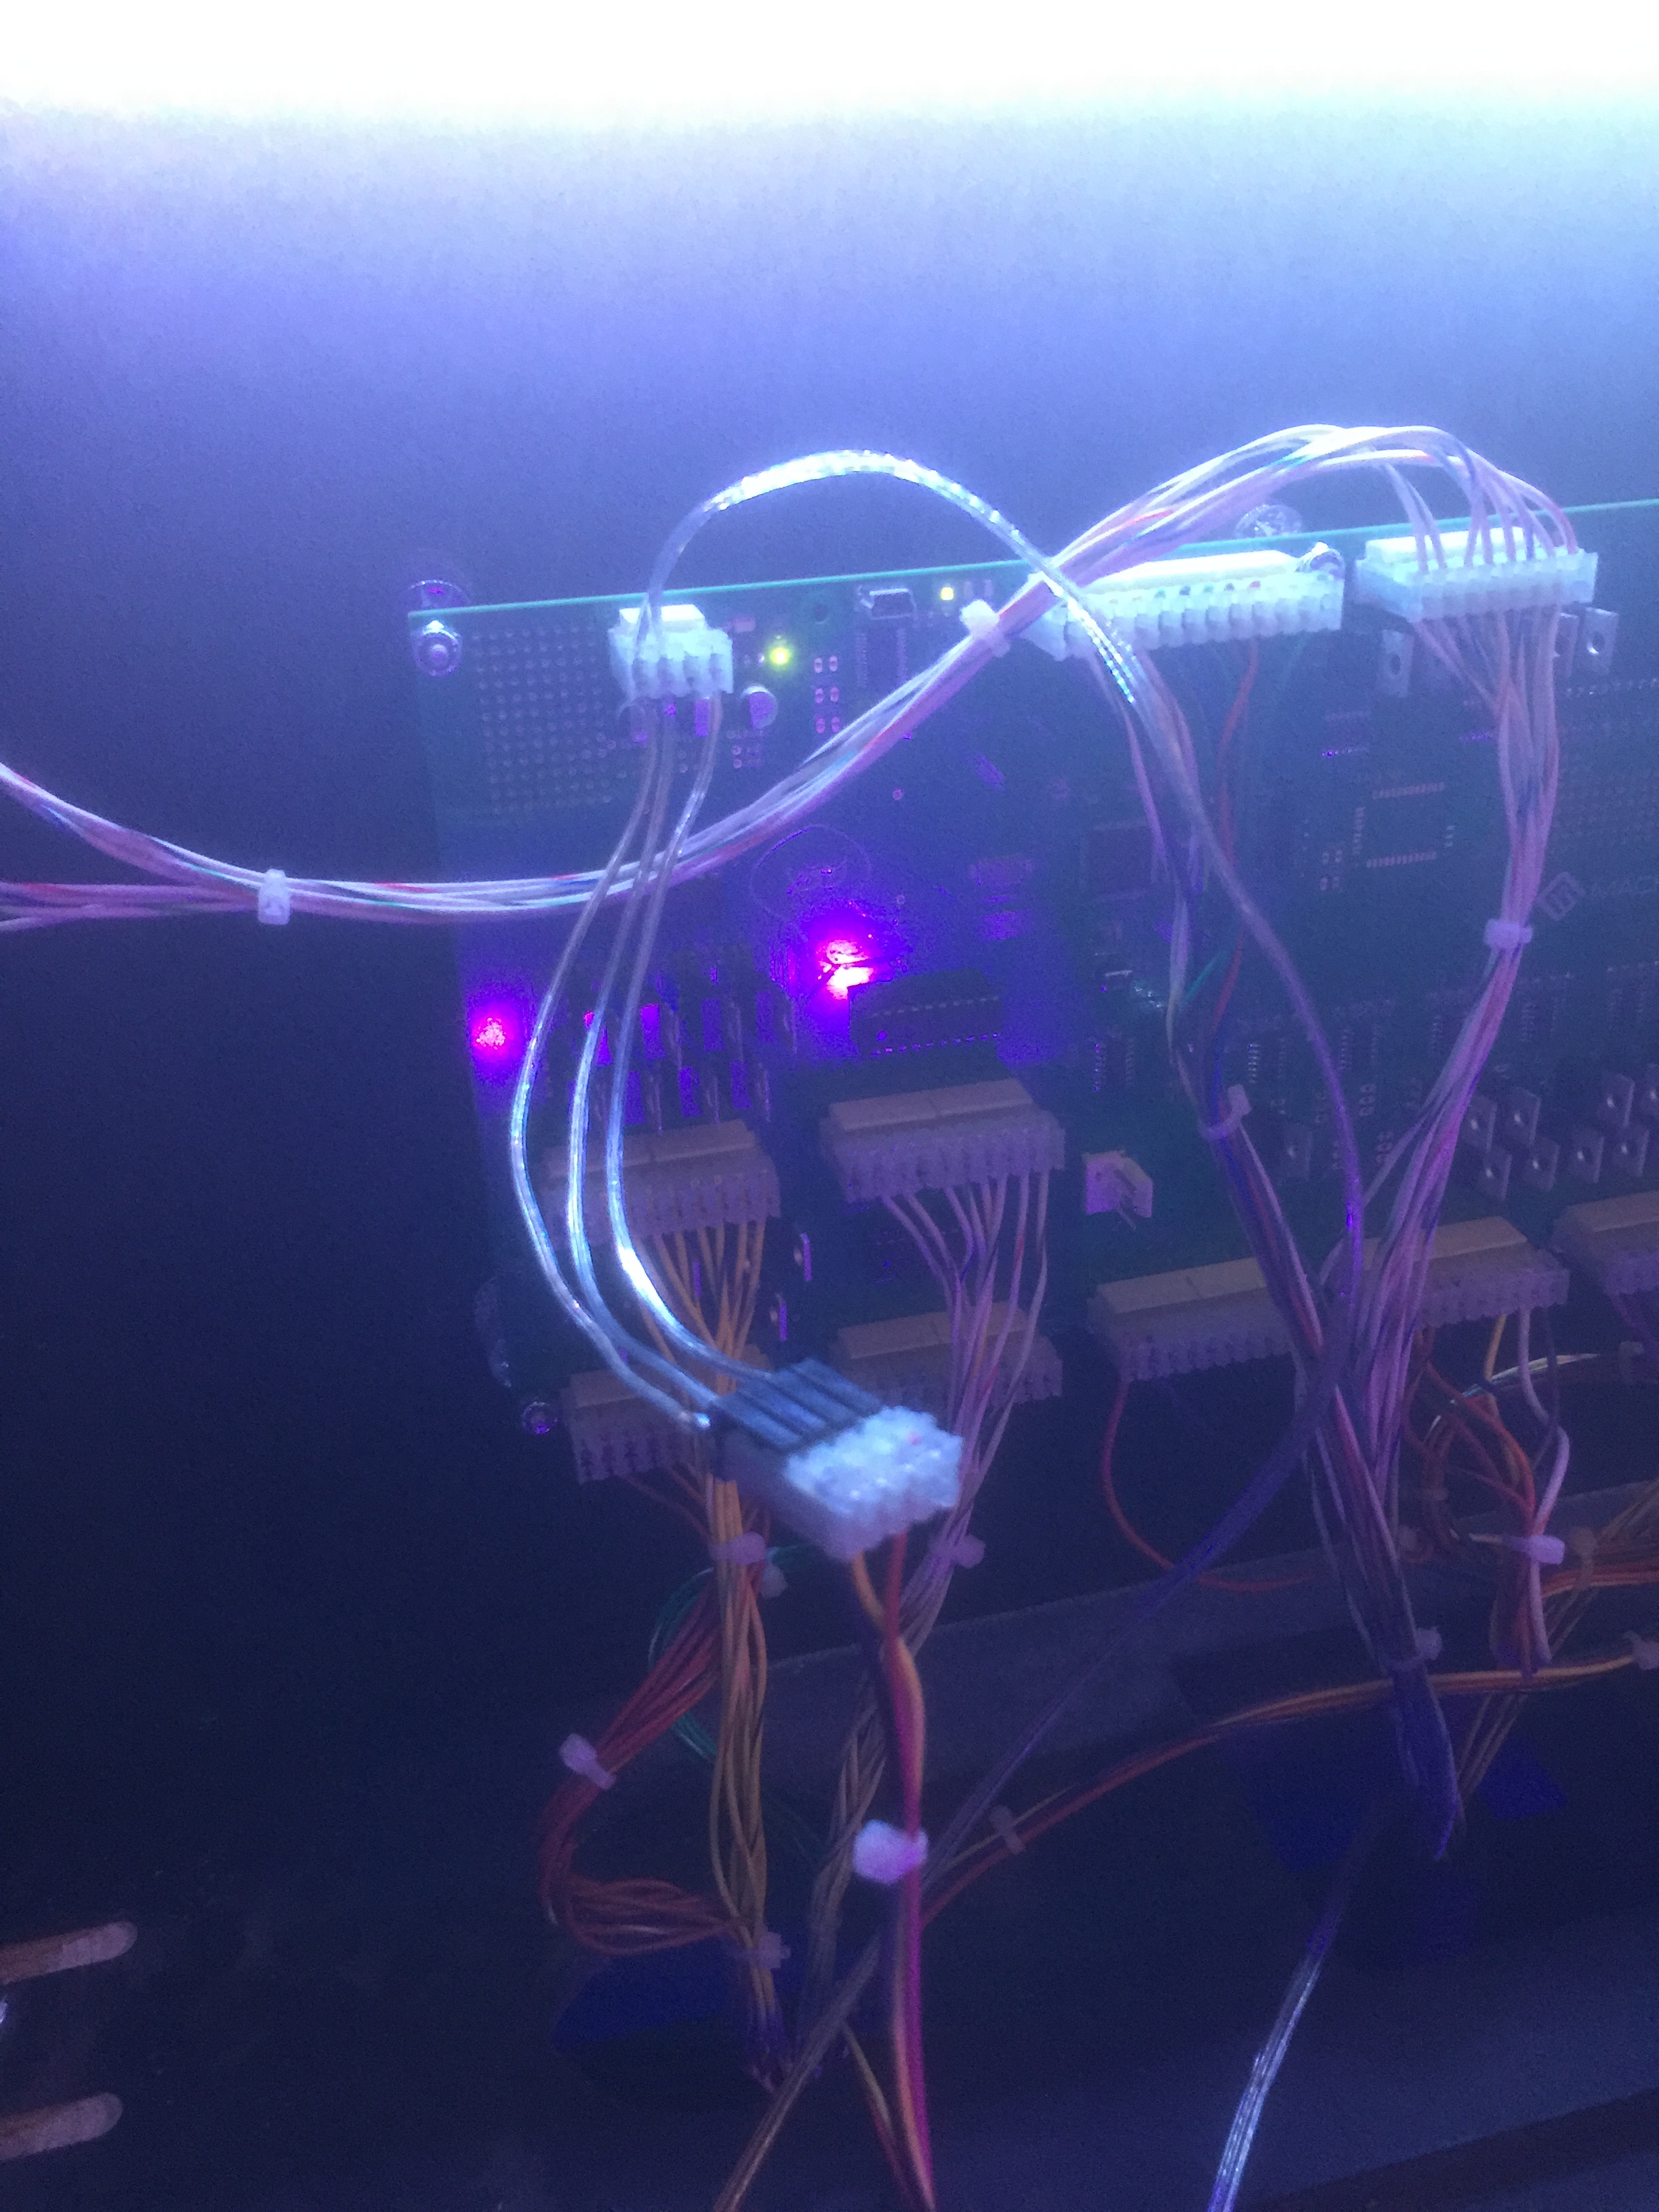
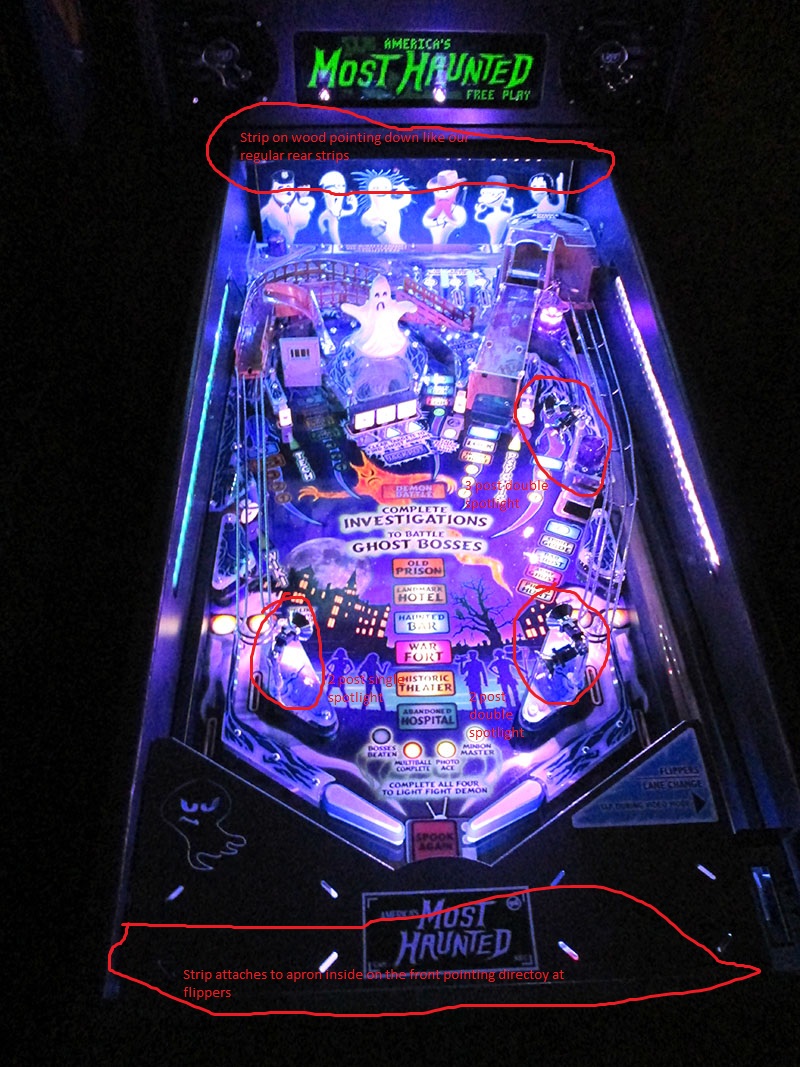
Once you verify the lights come on and the game works this way, unplug the kit. Plugging it back in will be the last step of installation. - This shows where the 5 lighting elements for the game will go.
- Lets install the light strips first. Separate the spotlights from the power connectors. These just pull apart. See the red circled area of the photo.
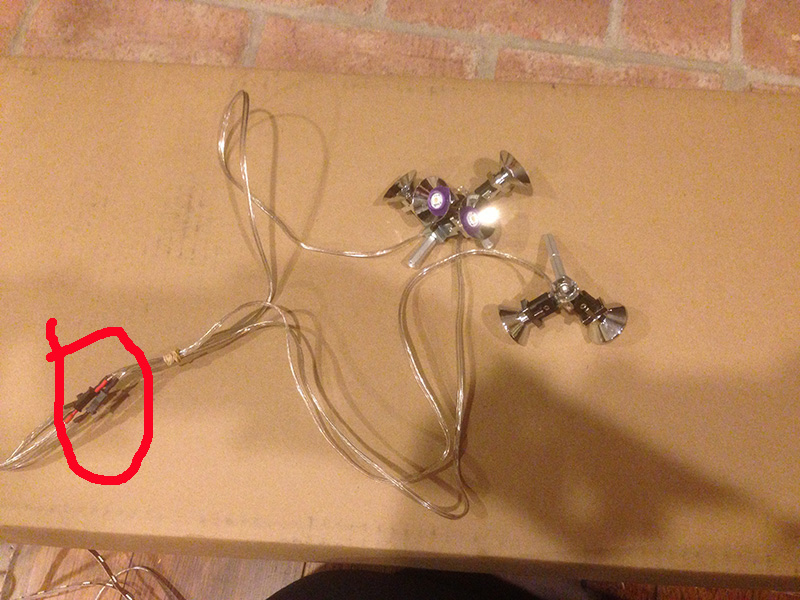
Set these aside. We will use them later.
- FRONT LIGHT STRIP
Pardon the pictures of WoZ, but the procedures are the same and we no longer have the AMH game for more photos.Remove the apron on the machine. The two strips on the AMH kit are the same so you can put either in either location. With the apron off, you will need to turn the apron over and mount the light strip to the back of the apron so that it faces the flippers when the apron is reinstalled.
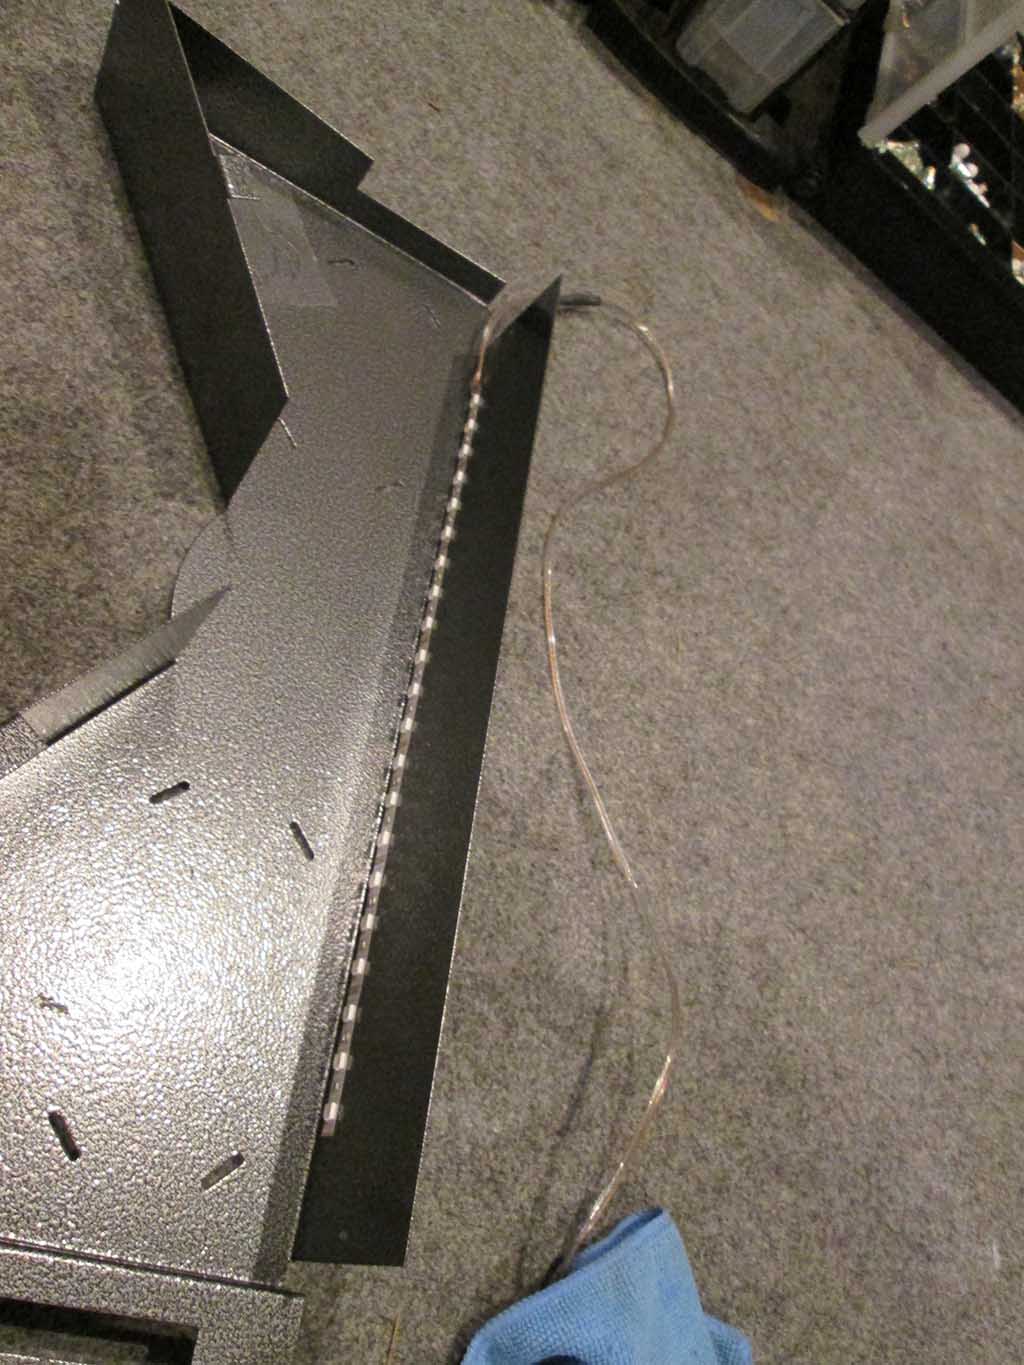
Feel free to use some of the included black tape strips to secure the light strip in place in case the sticky back on the tape doesn't hold long term. Three strips of tape, one on each end and one in the middle should do it. It's ok if you cover one of the LEDs with the tape, it wont be noticable.
- Run the wires down into the open area in front of the ball trough and into the cabinet. Make sure you don't accidentally run the wires through the coindoor or you won't be able to close the door (Yes, I did this stupidly the first time myself).
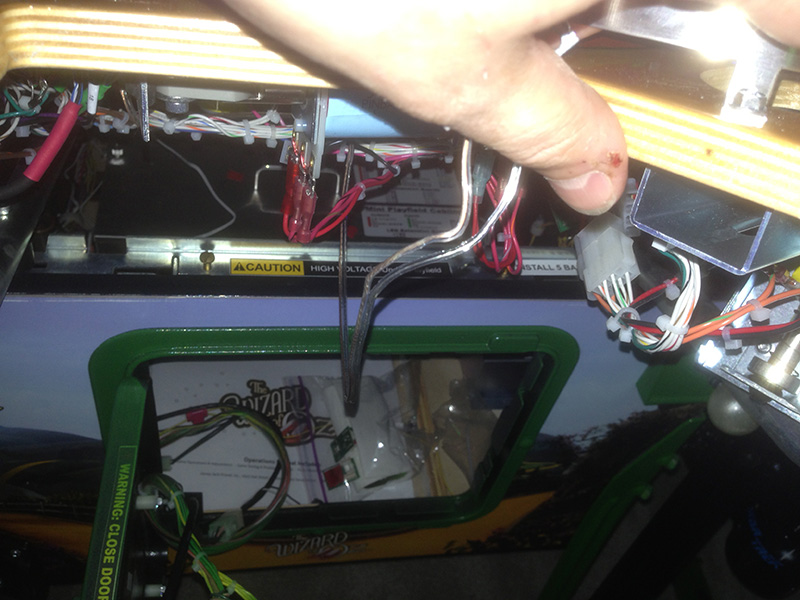
- You can tape the wires a little bit if you want to prevent snags from ripping the card off or the wires off the strip:

- On the underside of the playfield, you may want to run the wire back a little and use one of the tie straps to secure it. Notice we do not run the wire back very far. It will need to connect near the tilt bob and we want plenty of slack so the playfield can be down, up, raised fully, etc without having to unplug the wire when moving the playfield around.
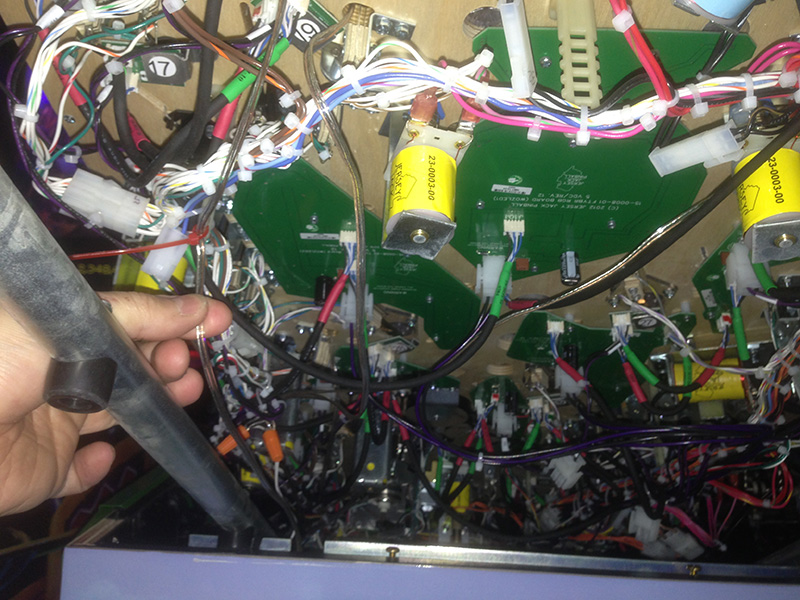
- Reinstall the apron. You're done with this part.
- BACK LIGHT STRIP
The rear light strip illuminates the entire back of the machine and makes the backboard look awesome. This will be attached to the back wood. The instructions for installing this are very similar to the stern rear light strip instructions located here. - Clean the area thoroughly with rubbing alcohol and make sure it is totally dry. If it is at all wet, it will ruin the stickiness of our light strip and the strip will not stick properly. If this happens, it will have to be gorilla taped on.
- Stick the light strip on centered in the back. Let the cable side of the strip point to the left of the machine. See where to install it on this metallica picture:
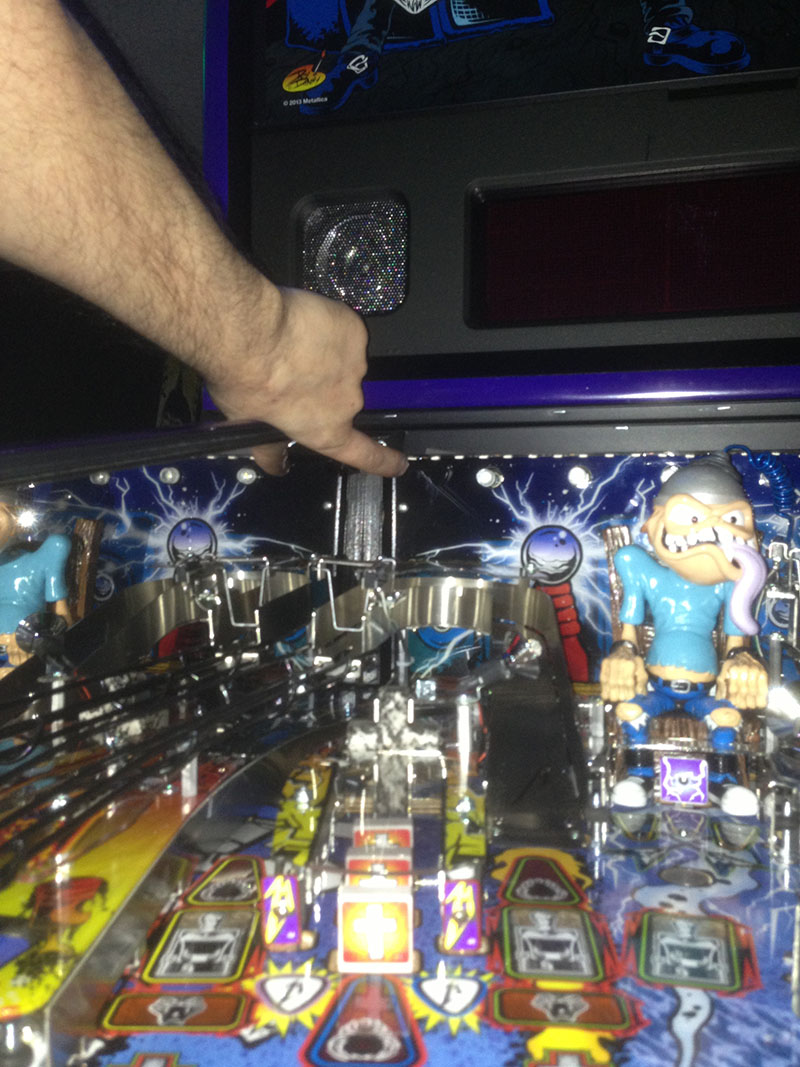
There is some decision to be made on your part here. You can mount the light strip to the underside of the rear glass channel or to the wood in the back as in the picture. I chose the glass channel on my game. It depends on your height and how you stand when playing the game. You may want to power on the light strip and lay it around the area you are considering to see what the reflection might be. The light strip is bright and can reflect some light off the playfield. Some people dislike this. If you see a few bulbs reflected off ramps or the playfield, you can also just cover those bulbs up with some black electrical tape on the light strip. - Run the cable neatly forward in the cabinet along the left side towards the area near the tilt bob. The wire does not need to attach to the bottom of the playfield. You can use some thin strips of gorilla tape on the ends and the middle of the light strip to keep it extra secured in place. Even if you cover one of the LEDs, it will not make a difference in brightness.
- The power plugs into the backbox on the upper-left most plug. This provides 5 and 12v to the game.

After you plug in the connector, you can plug the original connector into the black daisy chain connector on our cable.

- At this point, you can power on the machine and see both the front and back light strip lighting the game. When done, power it back off for the rest of the installation.
- SPOTLIGHTS
The spotlights are the real lightening factor of the kit. We provide 3 sets of spotlights to add and a choice of purple and white bulbs. We used purple in our machine, but you can choose to mix and match as you see fit. - Now to install our 3 spotlight mechs. Each of these will require screwing them into their post bolts, running the wires down into the playfield, then connecting them to the power connectors coming off our power converter board. These will install almost exactly like our spotlight kits. The installation instructions here will give you some extra details for this step.
- Lets start with the left spotlight. This has a single spotlight on a double hex post. The right slingshot gets the double post while the single post goes on the left slingshot and upward on the playfield. This will attach to the left bolt on the left slingshot.
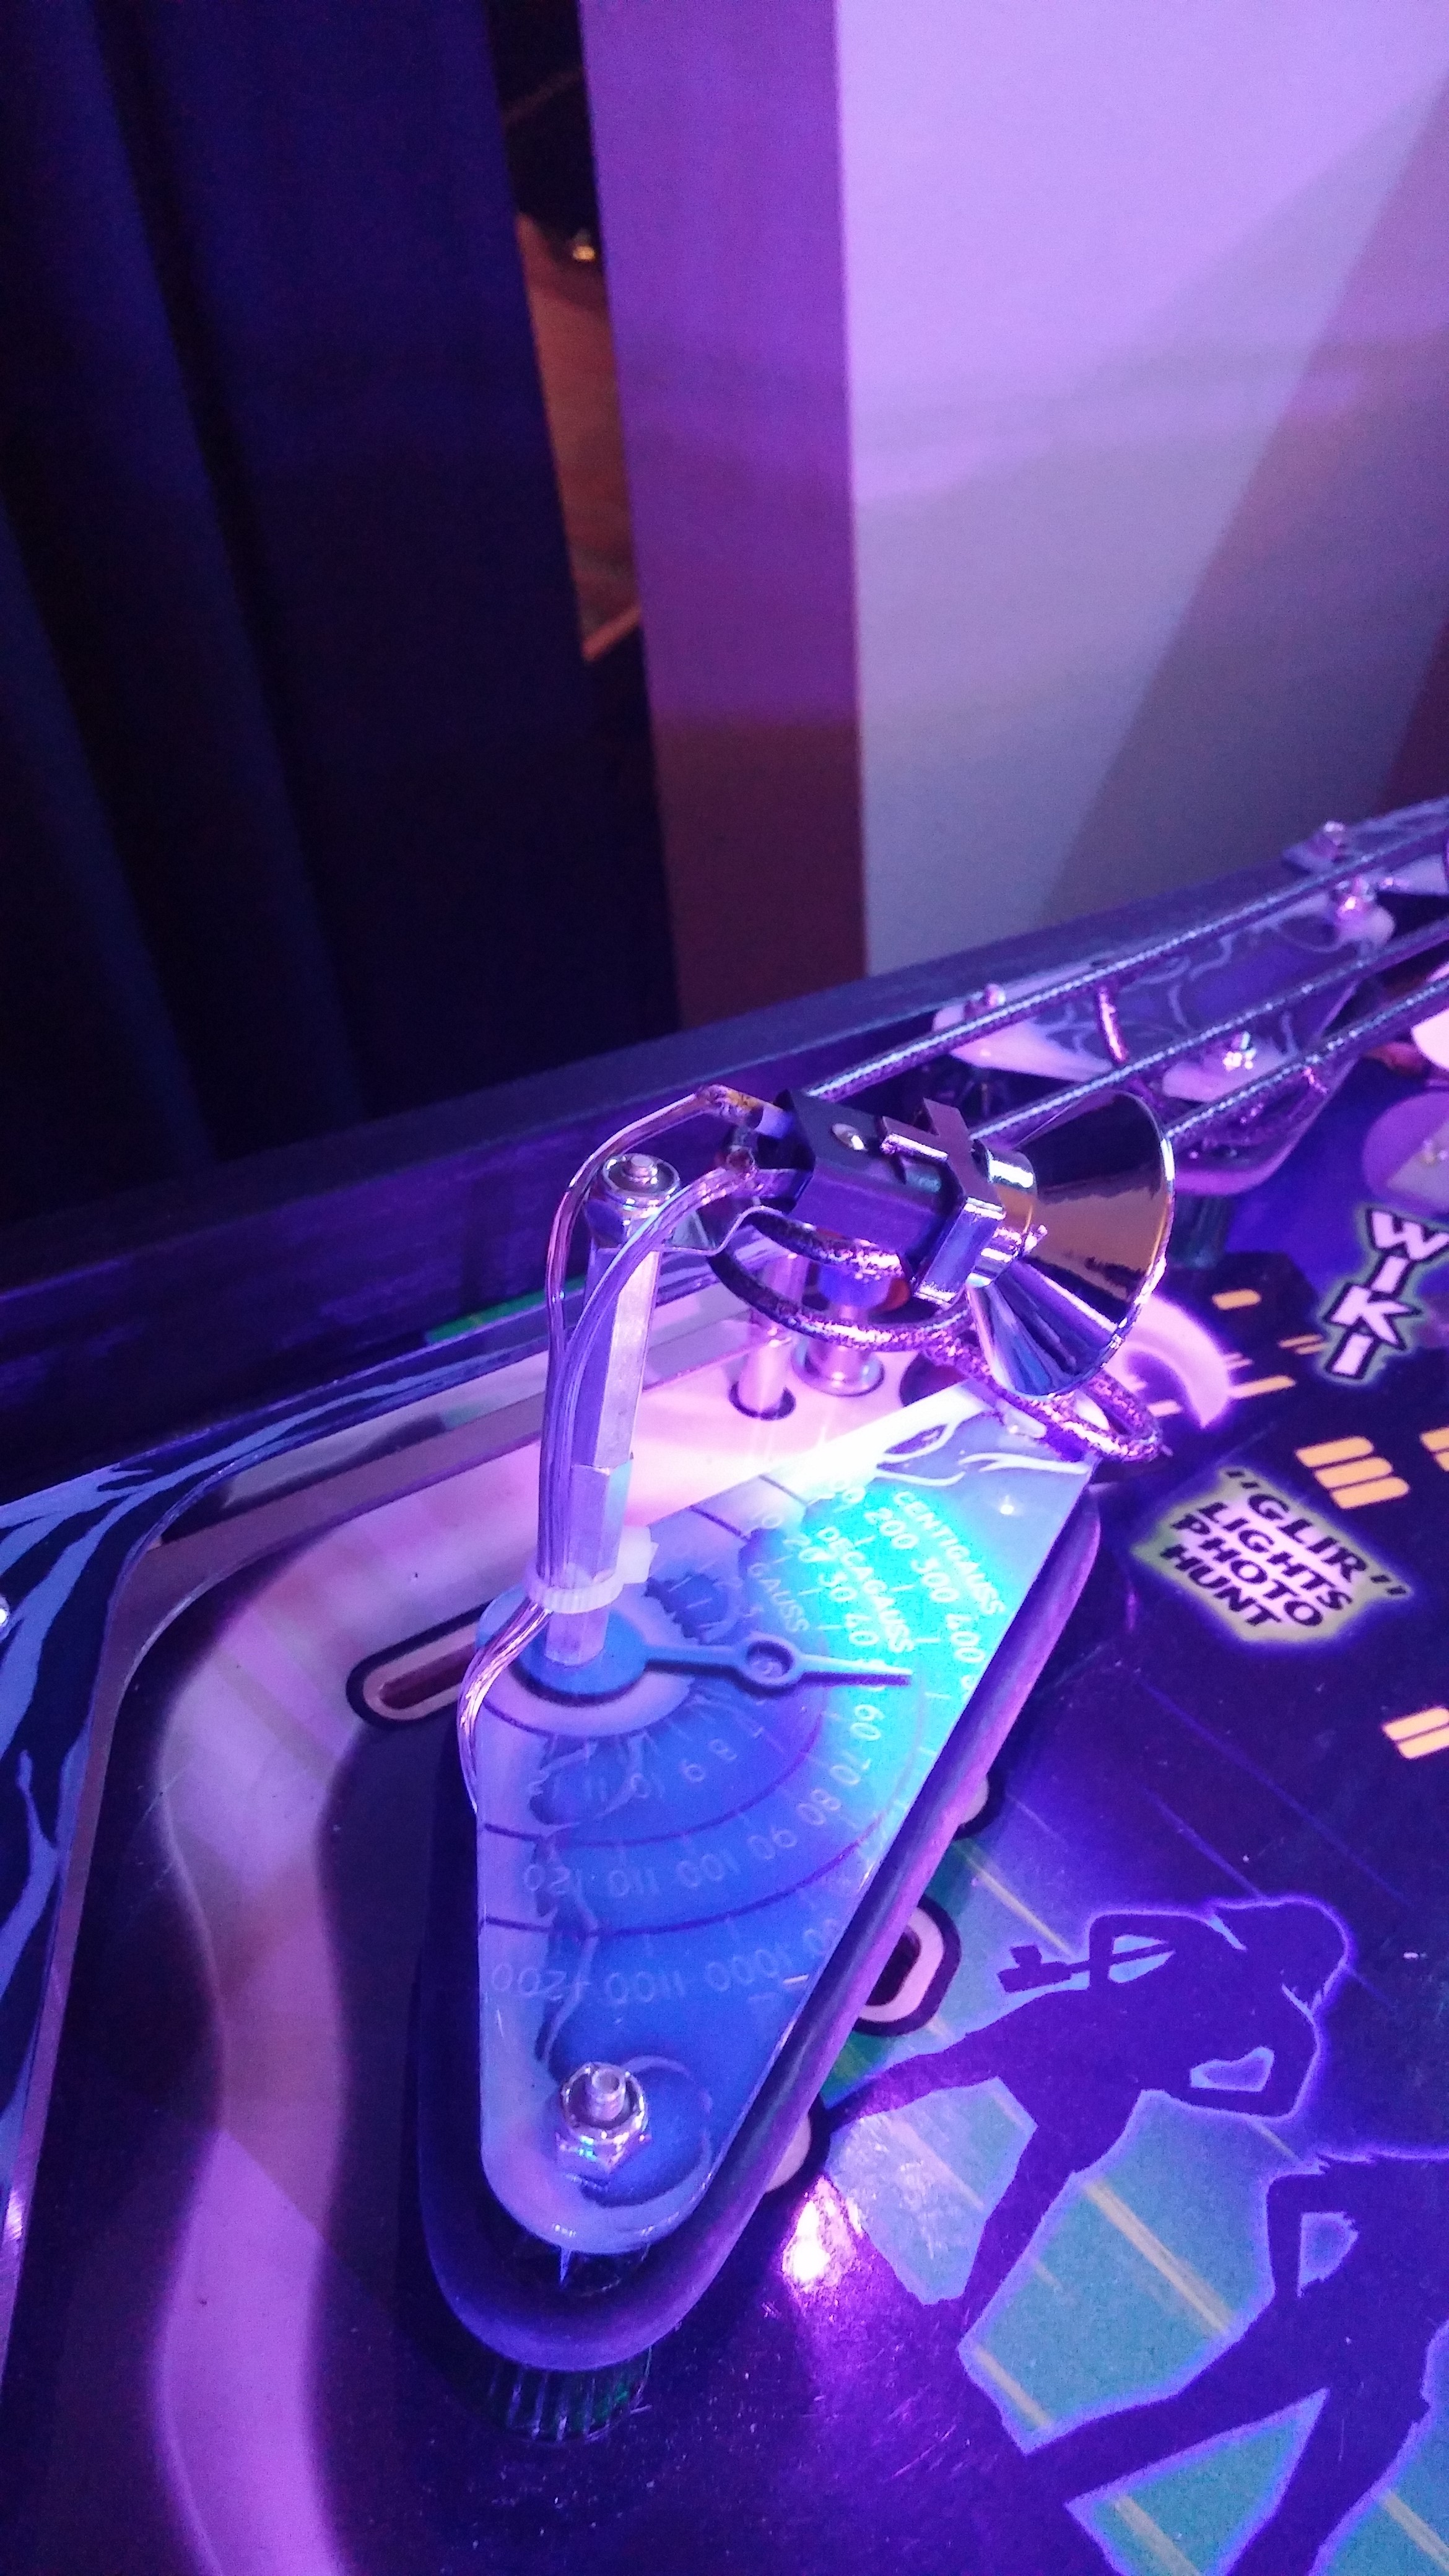
To attach these, you will run the wire under the slingshot switch. These are extremely tight fits. You will probably need to remove the slingshot plastic, poke the wire through the switch, then reinstall the plastic after. In some cases, you may need to loosen and lower the slingshot switch underneath the playfield. We run the wire through the lower slingshot switch (the one cloest to the flippers). Make sure the wire goes behind the switch and does not get between the blades of the switch.
See how the wire looks from the top running behind the slingshot switch (kind of hard to get it between the blades anyway).
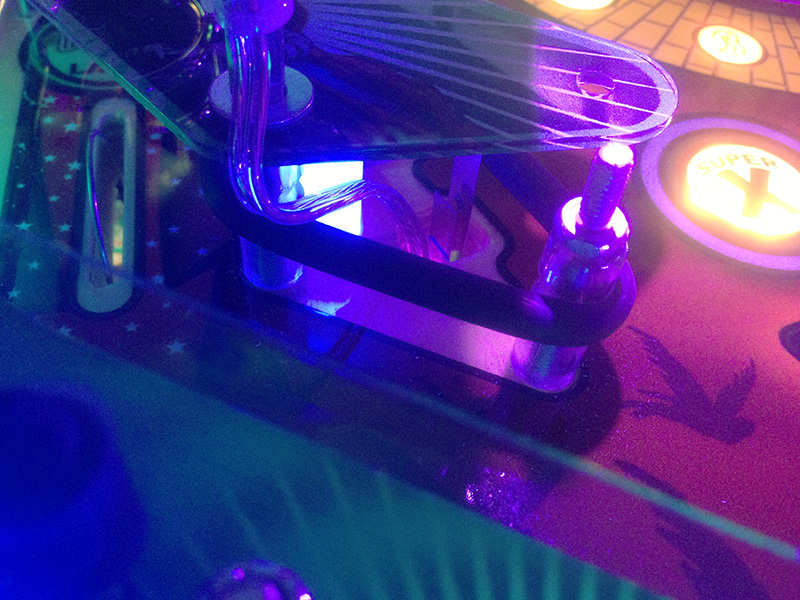
Once the wire is poked through, resecure the slingshot plastic and secure the spotlight assembly onto the plastic. Then zip ties the bolt nicely so it looks like the picture above.
You want this spotlight to point towards the ghost bosses. I suggest using the tower bulb in this spotlight since it points forward away from you and is the only one on the left side. Again, try the purple before going to white. The purple will make the blues in the playfield pop almost in an UV-reactive manner. - Attach the double hex bolt spotlight to the right slingshot, upper bolt this time. Use the same procedure as before. It should look something like this:

The wire will run behind the upper slingshot switch installing just like before. Secure it onto the slingshot and tie strap it. The underside wire should just be dangling below the playfield.
As for pointing these, try the lower one directly between the flippers. Make sure its low enough with the cap on so you're not blinded by the bulb (you shouldn't see it wiht the naked eye only its light). The upper spotlight towars the center of playfield maybe near old prison insert. - The third spotlight gets 3 posts so it can be as high as possible. It will light the center and upper playfield. The purple leds are great for this one. Note: This is now a single spotlight since we have much improved spotlight bulbs from the original kit. It should point between 9:00 and 10:00 positions.
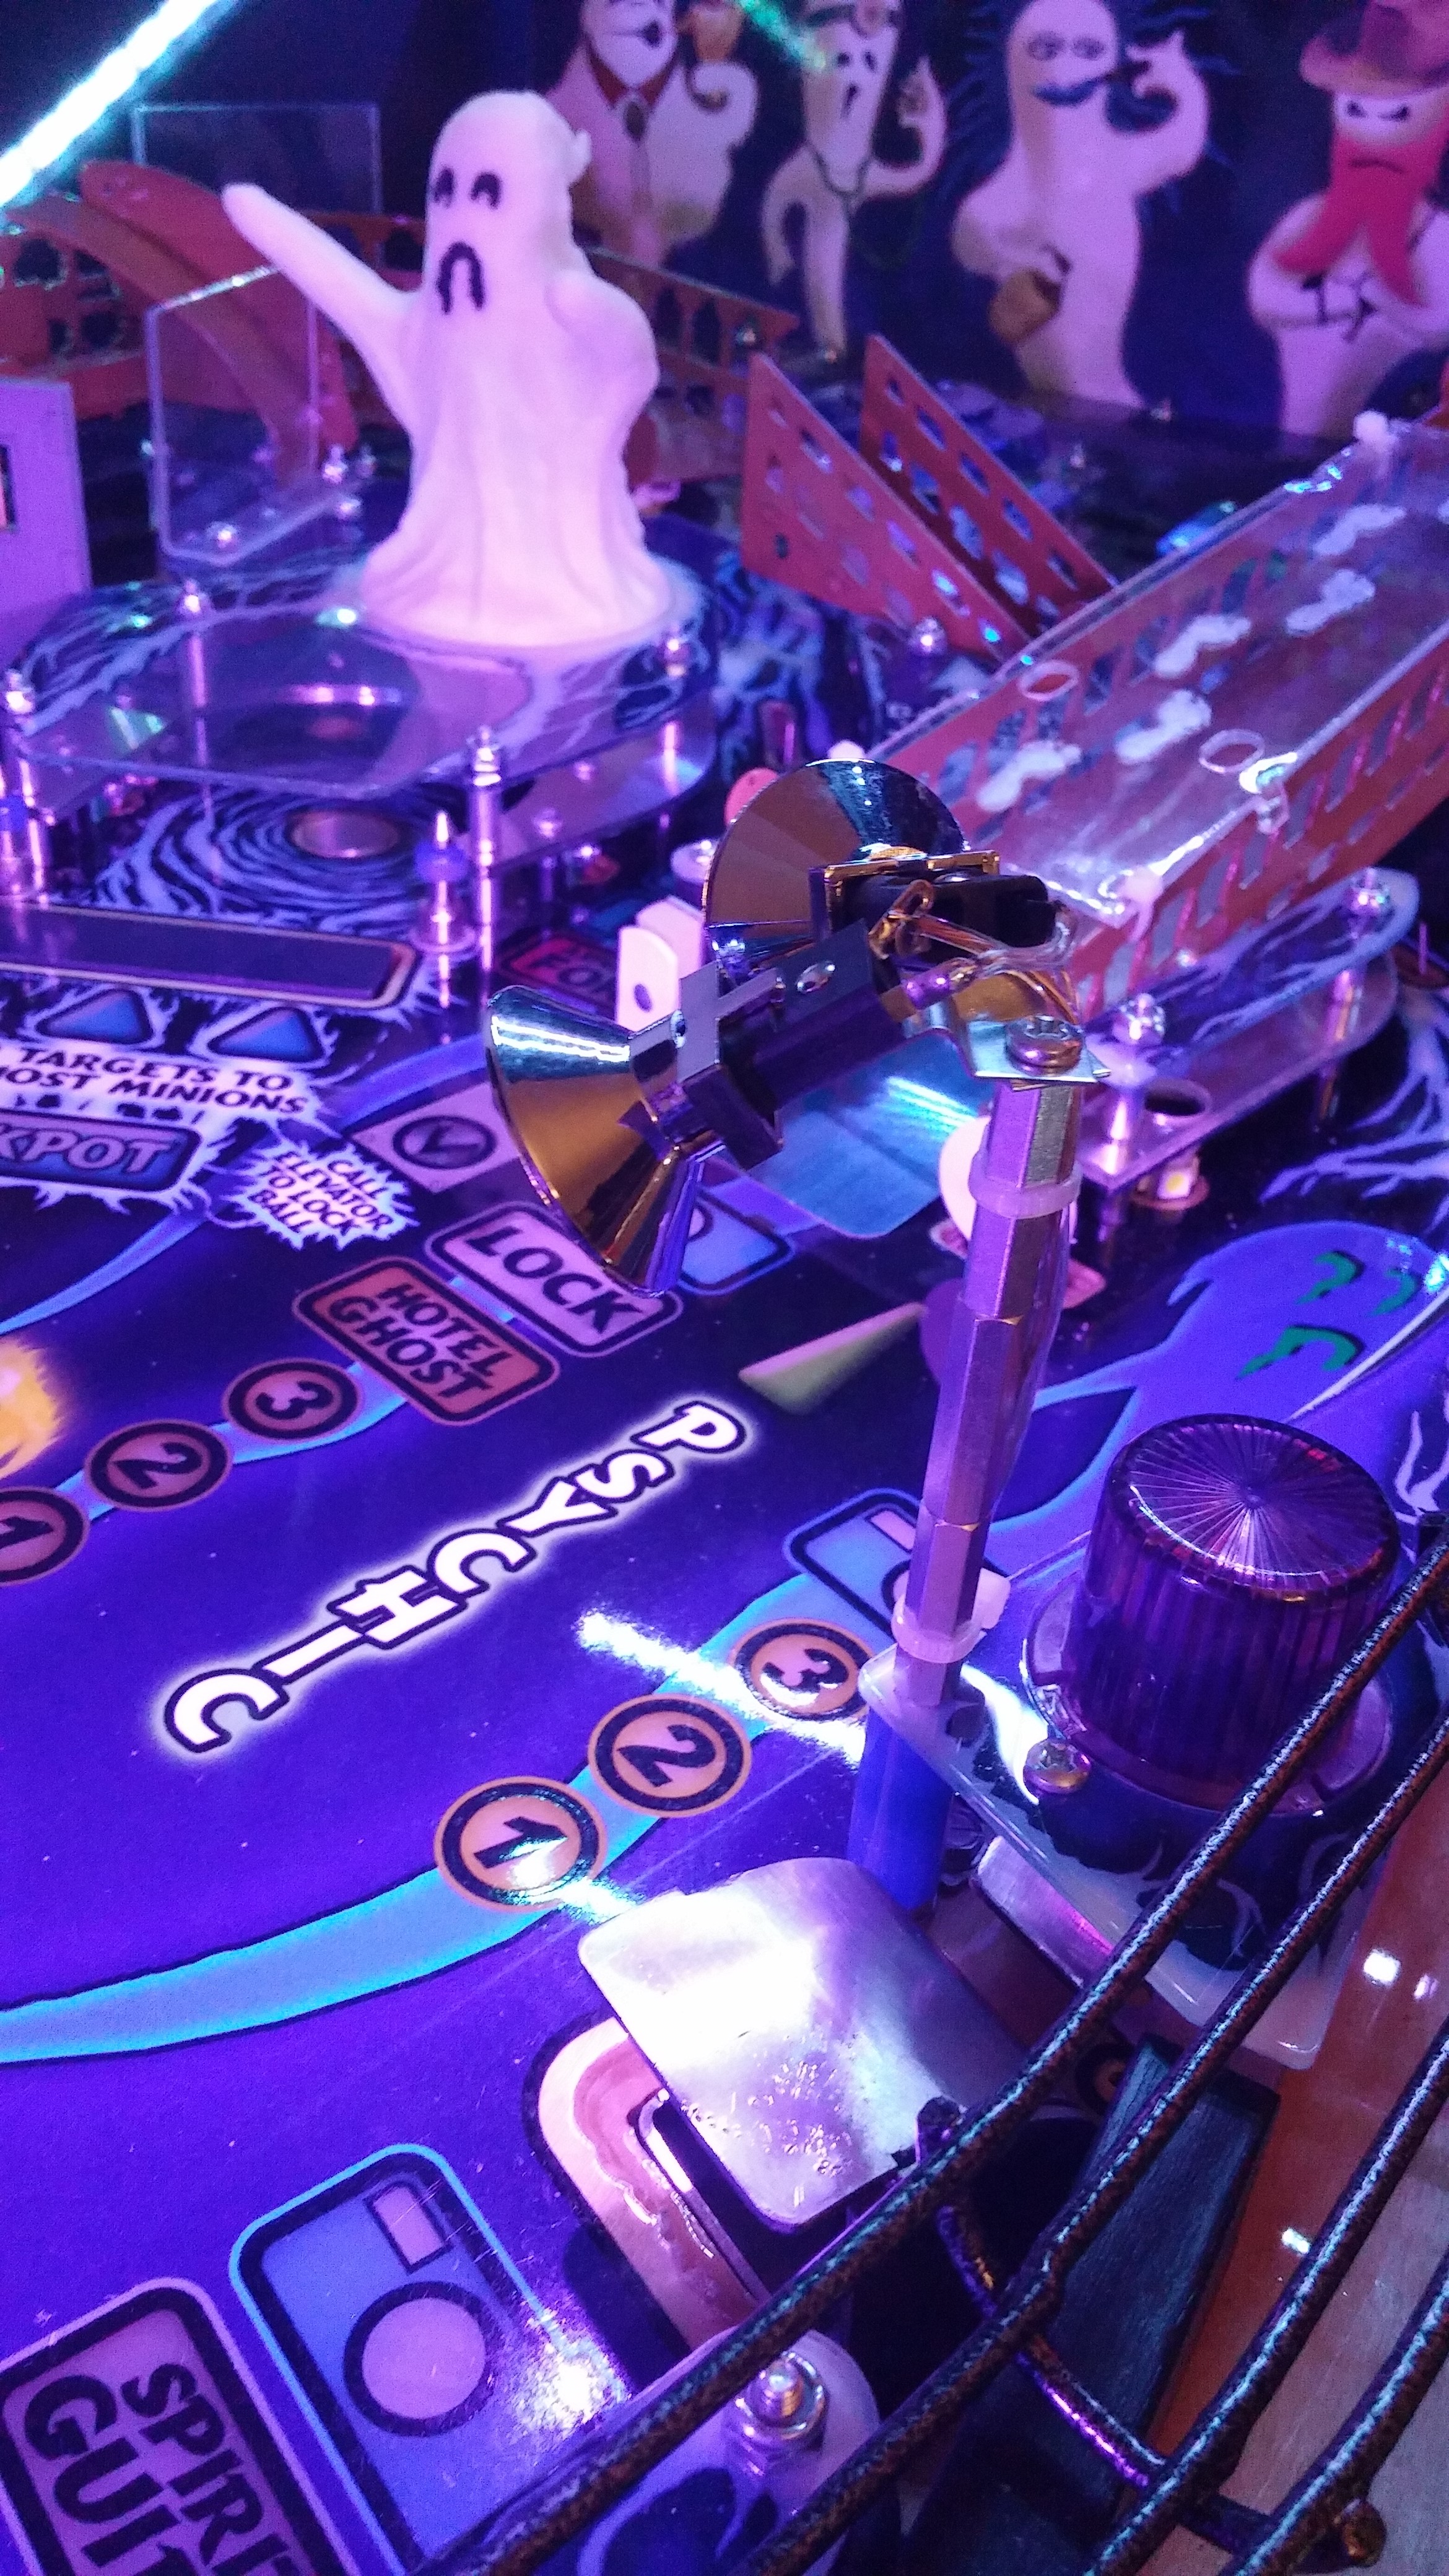
The wire should run down and behind the scoop. - If you're here, then the hard part is done! Now time to just plug it all in. Gather the 3 spotlight connectors that are now dangling underneath the playfield
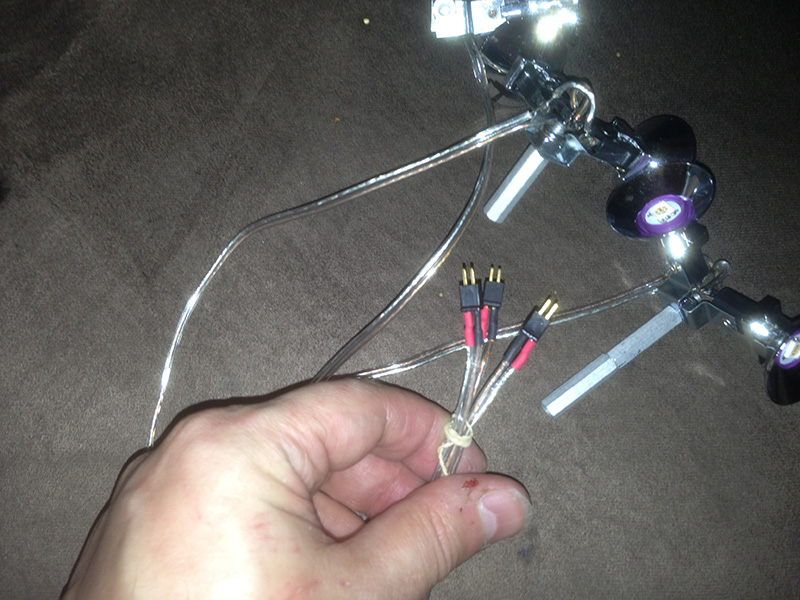
and plug them into the 3 connectors off the light strip pack that match them:
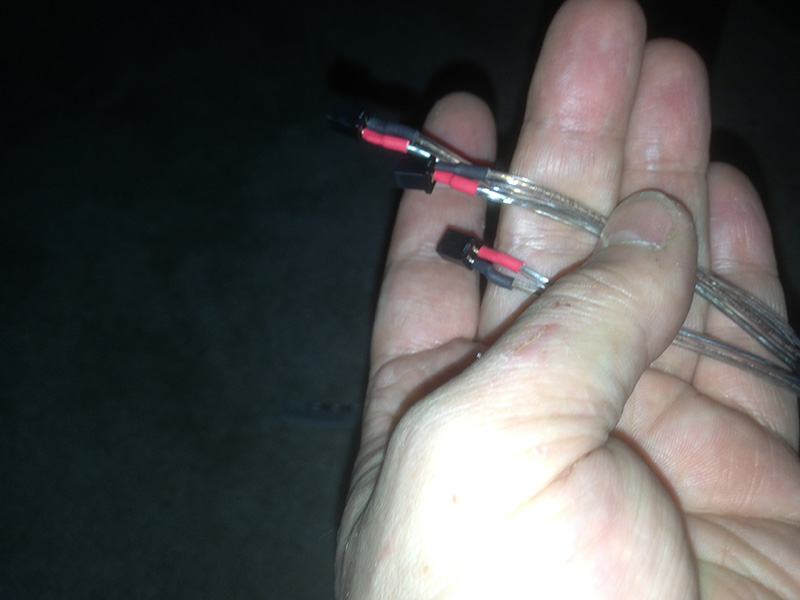
It really does not matter which one goes into which plug or even which order they attach. They are non polarized. We did color red on one side and black on the other to make it easier, but it really doesn't matter. It will work either way. - If there are any loose wires, you may want to bind them with a ties strap underneath the playfield. Make sure you can lift the playfield all the way upright as well as put it back in place without tugging any of the wires.
- At this point you should be done.
If you have any questions please feel free to contact us. We are happy to help.
