
The flipper strip for pinball 2000 installs just like any of our WPC flipper strips except the power hook up, which will come from tapping into the opto board rather than in the head.
- First, remove the glass and pull the playfield onto its supports.
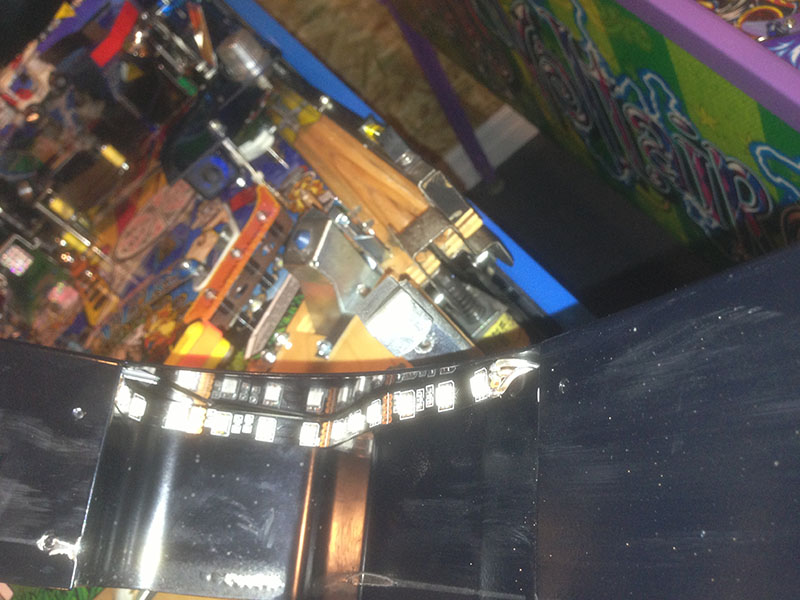
- The light strip will be mounted on the very top of the metal ball guides that funnel the ball into the ball trough. It's high enough that the ball cannot hit the strip.
On some games, mostly WPC95, the ball guide may be attached to the apron so the strip mounts on the apron instead:
- Remove the apron on your game. In most cases, this requires removing only the front screws. But on some games you may have to remove top screws as well.
- Clean the metal area with alcohol and let it thoroughly dry. (If it is not dry, the strip will not stick and will be ruined).
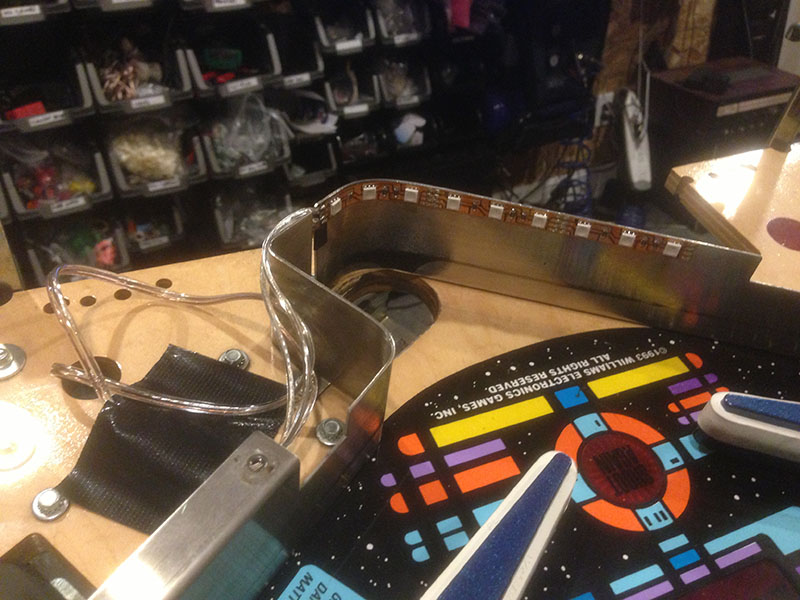
Attach the light strip with the wires on the left side.
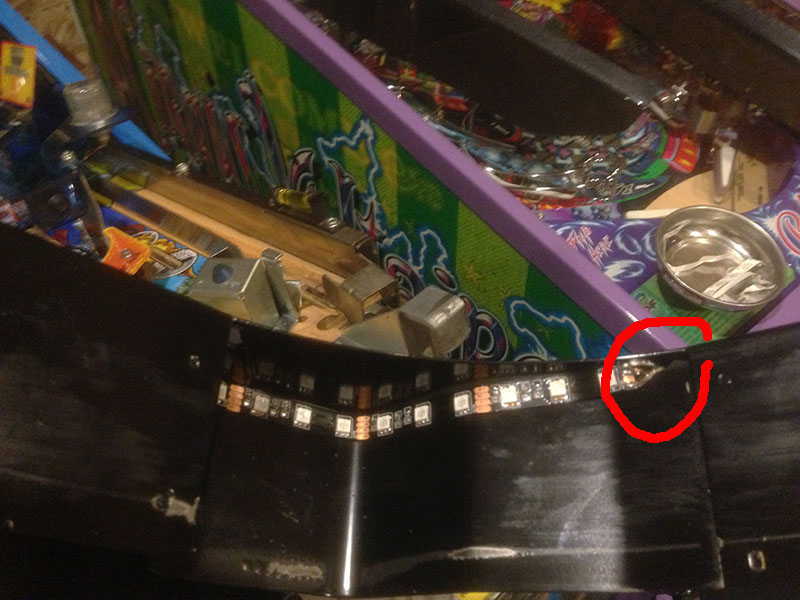
In the picture below, I used the middle slot to run the wires. But this is very uncommon for games to have this wide opening. Therefore, run the wires through on the left and over the ball guide. You may want to put a piece of electric tape on the top ball guide to prevent the metal from cutting through the wires. Also take note how the strip is attached. It should be at the top of the guide so the ball cannot hit it. It should be centered to send the most light forward onto the flippers.
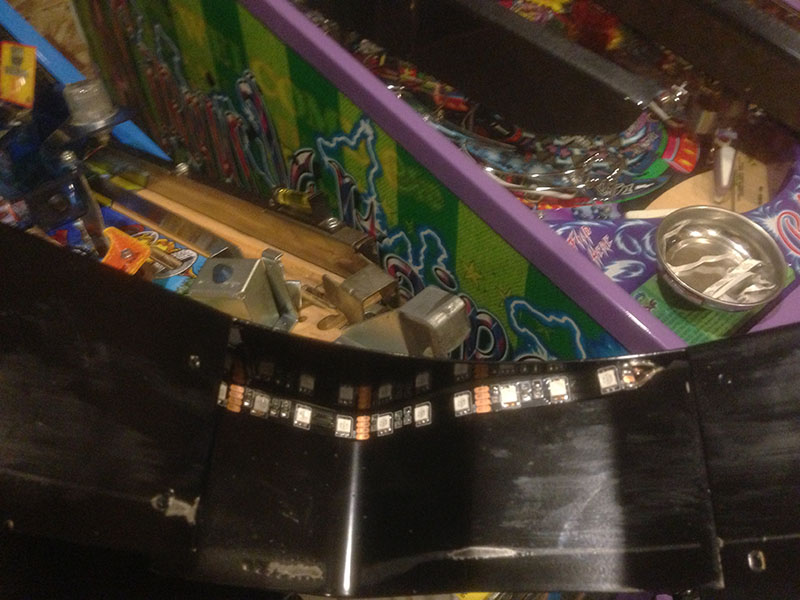
If the ball guide is attached to the apron, so will need to feed the light strip through the top gap on the apron and attach to the apron, itself:
- Feed the wires behind the apron and tape to the playfield so that the wires dont accidentally tug and rip out the light strip. You can drop the wires into the cabinet right below the ball trough area where the big opening is.
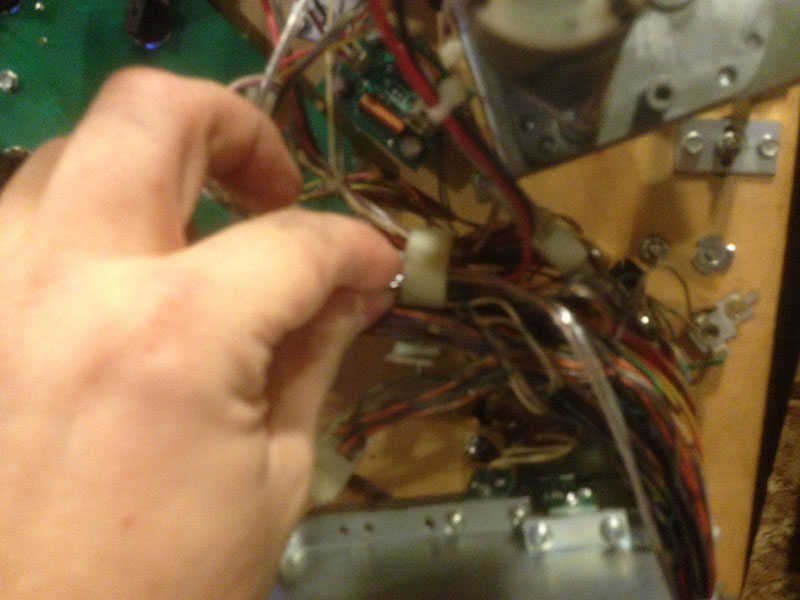

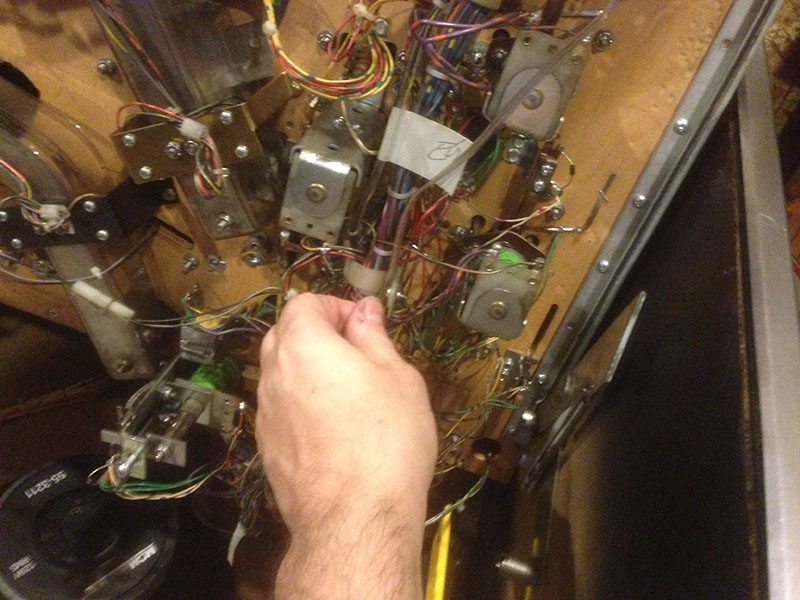
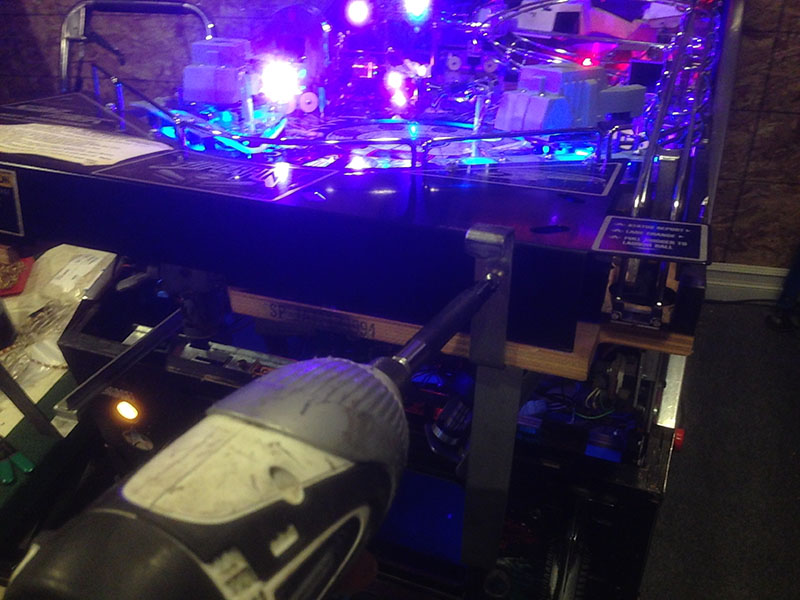
- The power for the strip will be provided by the under playfield opto board. We use the bottom connector, right two wires. See the picture below.

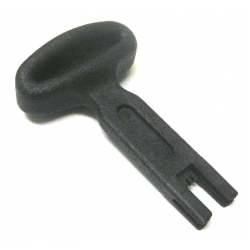
Use the provided punch tool to push the wires into the white plug and punch them in.
The grey striped wire is positive, the black ground. The black plug on the end of the flipper strip has a silver and gold wire. Silver is positive and gold is ground. If we use red and black wire, the red is positive and black is ground. Make sure you orient the two wires correctly so that positive on our strip connects with the grey and yellow stripe and black connects with the ground on our strip. If you get it backwards, nothing will break, but the strip won't light up.

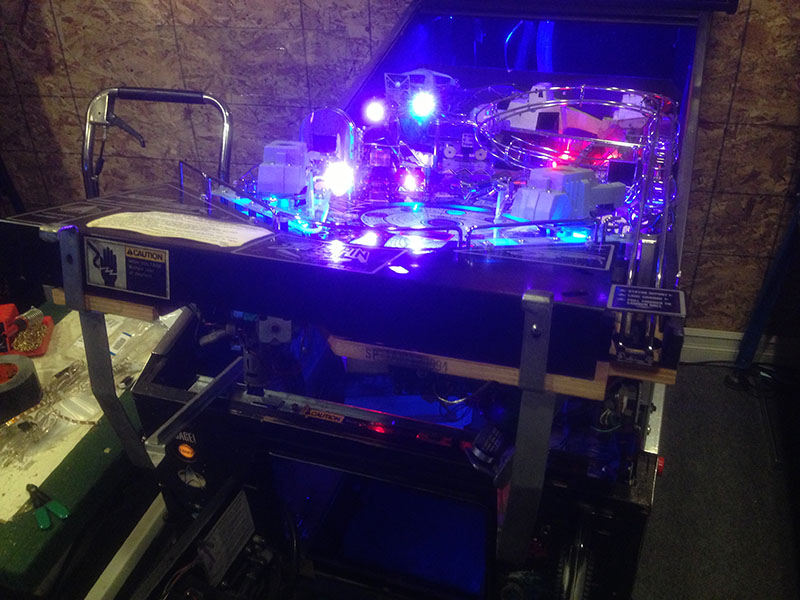
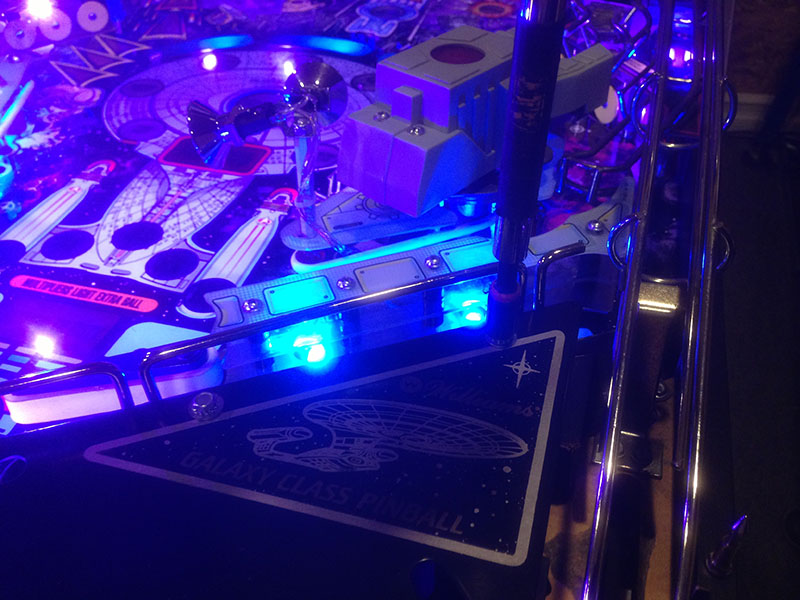
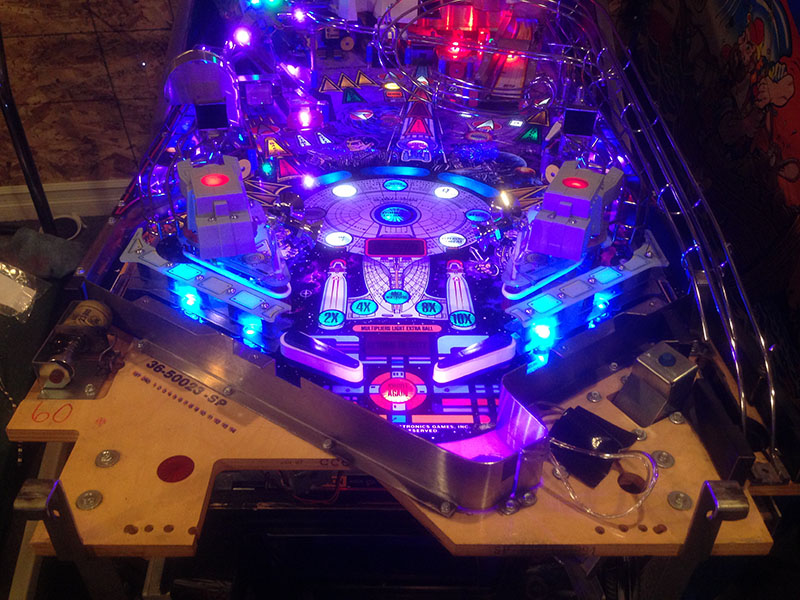
Power on the system and you should see the light strip shining intense light onto the playfield. You know your installation is completed because you cannot get the smile off your face :)