Thank you for purchasing our Hobbit brightening kit. This kit was created to light an already beautiful game so that it could be played and enjoyed in the dark or any room with low light. This is a fairly simple installation which should take about 15 minutes.
- Before we get started, please plug the power connector into the coindoor connector on your Hobbit and make sure that the light strips power on as well as your coin door inserts light up. It's best to make certain of this prior to installing anything.
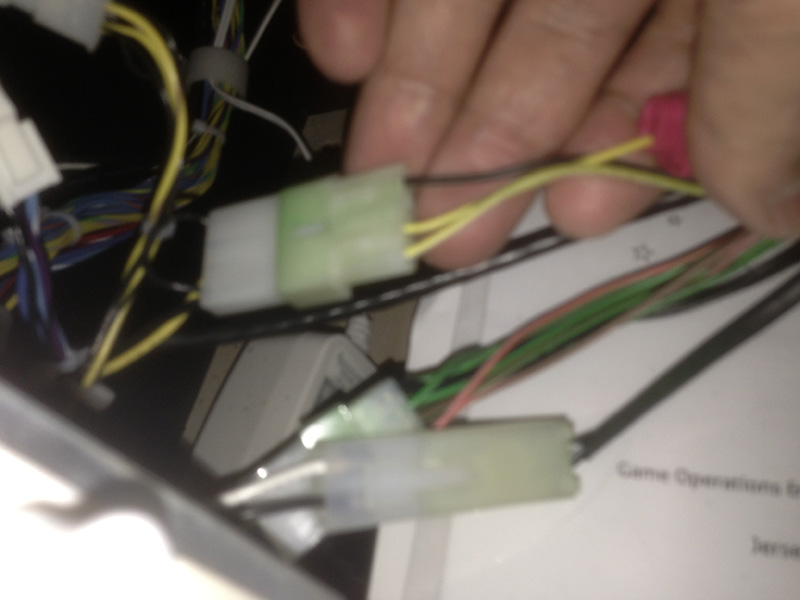
The power connector is to the very left of the coindoor. Just open your coin door. Unplug the coindoor light connector, plug the two kit connectors in, and power on the machine. The coindoor lights need to come on as well as the two light strips. If not, please contact us immediately. - FRONT LIGHT STRIP
(Photos may be for WoZ but this all applies). Remove the glass on the machine, power off the machine (ignore the fact that I didn't power off my machine. You should do as I say, not as I do.), and lift the playfield onto its supports. We need to remove the apron. Remove the two screws in front that secure it, and gently slide it off and set it aside.

- The light strip comes on a cut and sized card for this machine. This installs just like our
Stern front light strips.
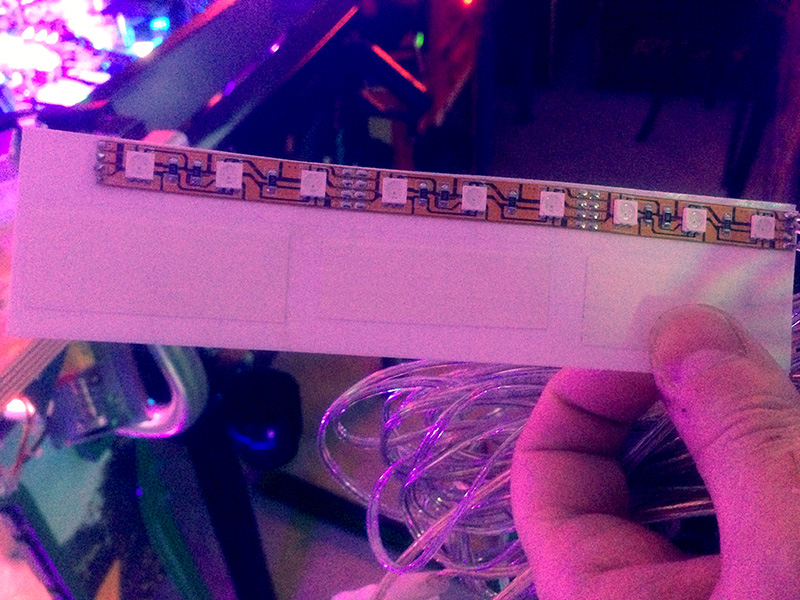
Peel the layer off of the tape on the front side of the card. And secure the card using the double sided tape to the machine as seen in the image below:

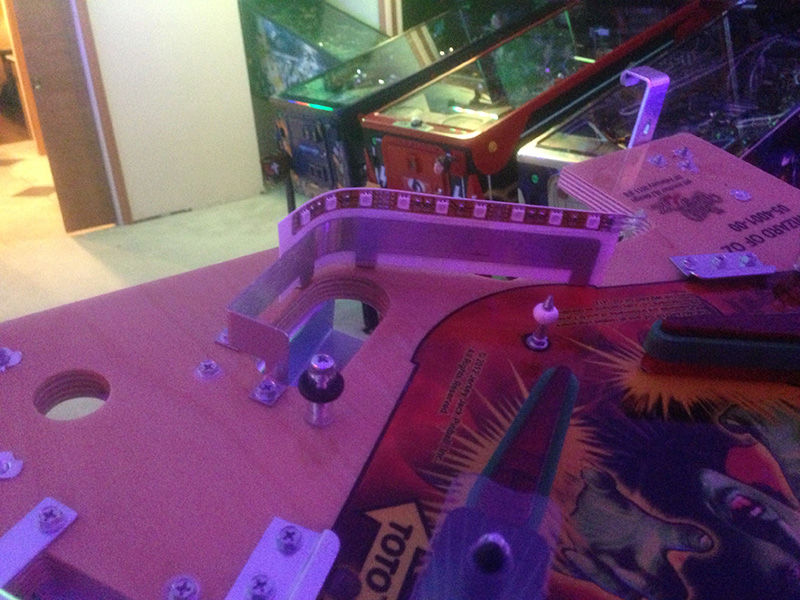
The installed strip should look like this:
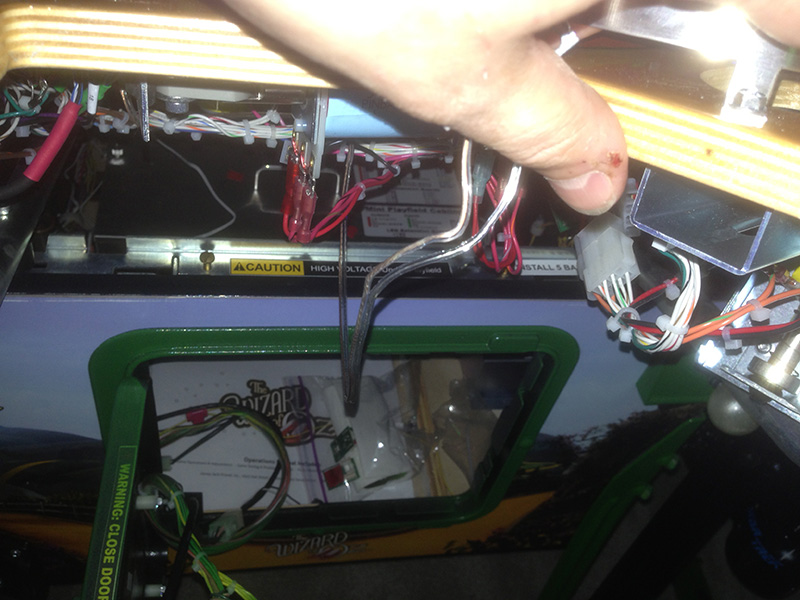
- Run the wires down into the open area in front of the ball trough and into the cabinet. Make sure you don't accidentally run the wires through the coindoor or you won't be able to close the door (Yes, I did this stupidly the first time myself).
- You can tape the wires a little bit if you want to prevent snags from ripping the card off or the wires off the strip:

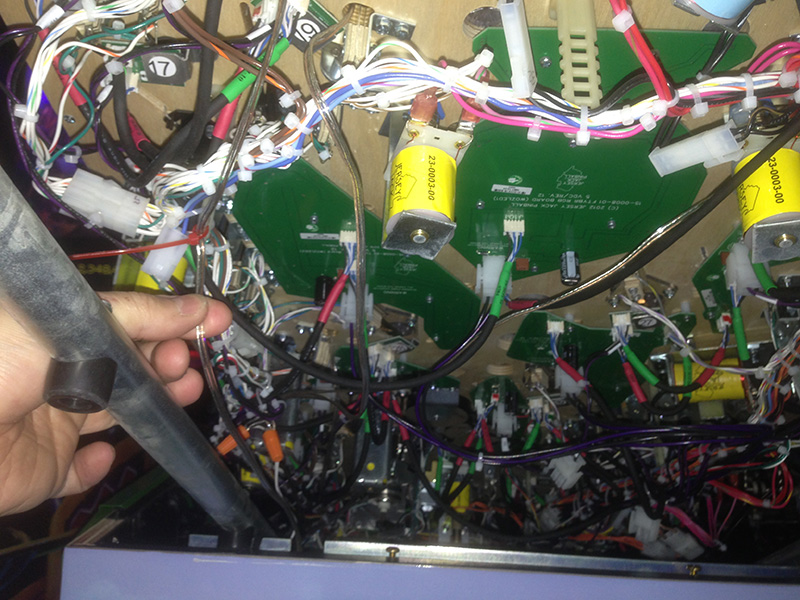
- On the underside of the playfield, you may want to run the wire back a little and use one of the tie straps to secure it. Notice we do not run the wire back very far. It will need to connect near the tilt bob and we want plenty of slack so the playfield can be down, up, raised fully, etc without having to unplug the wire when moving the playfield around.
- Reinstall the apron. You're done with this part.
- BACK LIGHT STRIP
The back light strip is the longer strip that is not on a card. This is a gold light strip that illuminates the entire back of the machine. This will be attached to the plastic glass channel underside. The instructions for installing this are very similar to the stern rear light strip instructions located here. - Clean the area thoroughly with rubbing alcohol and make sure it is totally dry. If it is at all wet, it will ruin the stickiness of our light strip and the strip will not stick properly. If this happens, it will have to be gorilla taped on.
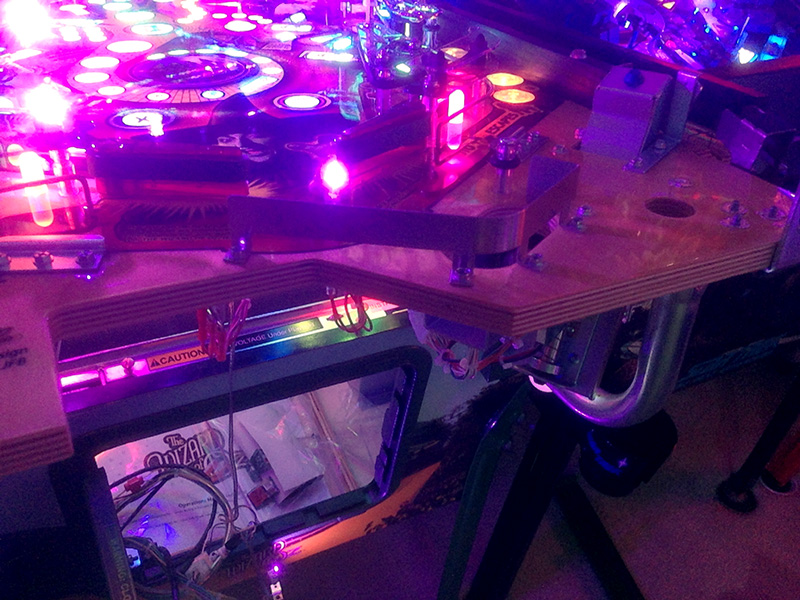
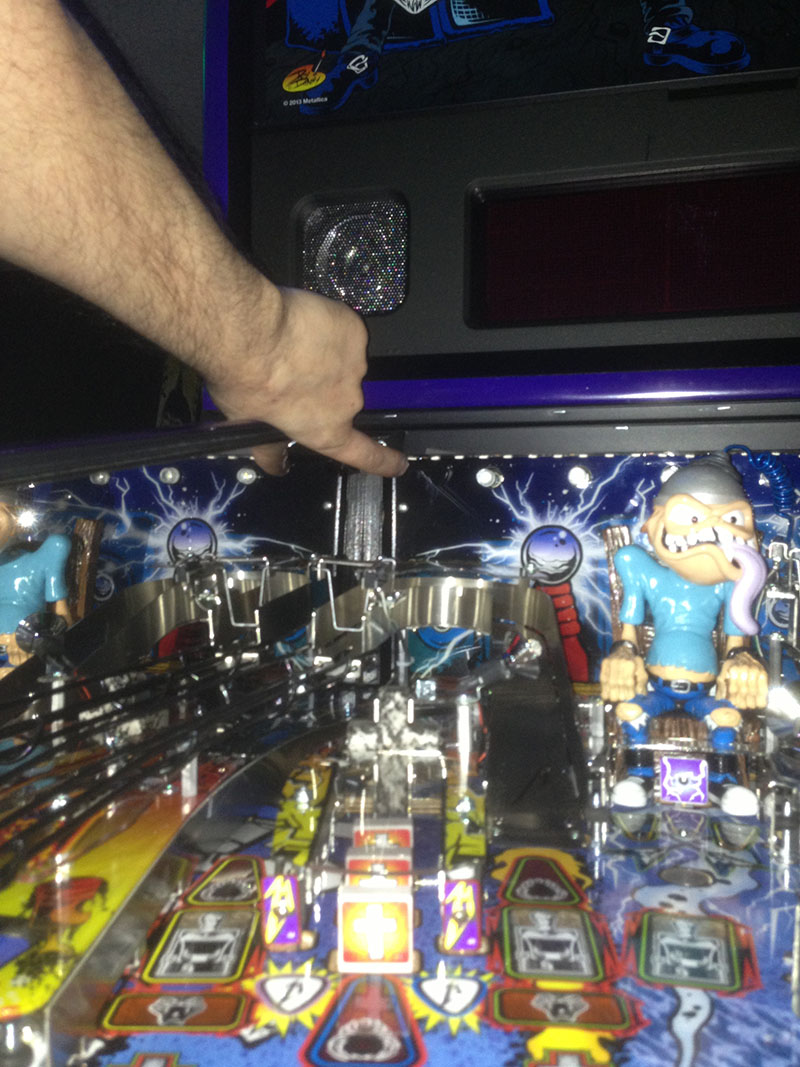
- Stick the light strip on centered in the back. Let the cable side of the strip point to the left of the machine. See where to install it on this metallica picture:
There is some decision to be made on your part here. You can mount the light strip to the underside of the rear glass channel or to the wood in the back - in this game, I preferred the glass channel. It will disperse more light but it will produce more glare on the playfield. I chose the glass channel on my game. It depends on your height and how you stand when playing the game. You may want to power on the light strip and lay it around the area you are considering to see what the reflection might be. The light strip is bright and can reflect some light off the playfield. Some people dislike this. If you see a few bulbs reflected off ramps or the playfield, you can also just cover those bulbs up with some black electrical tape on the light strip. - Run the cable neatly forward in the cabinet along the left side towards the area near the tilt bob. The wire does not need to attach to the bottom of the playfield. You can use some thin strips of gorilla tape on the ends and the middle of the light strip to keep it extra secured in place. Even if you cover one of the LEDs, it will not make much difference in brightness.
- SPOTLIGHTS
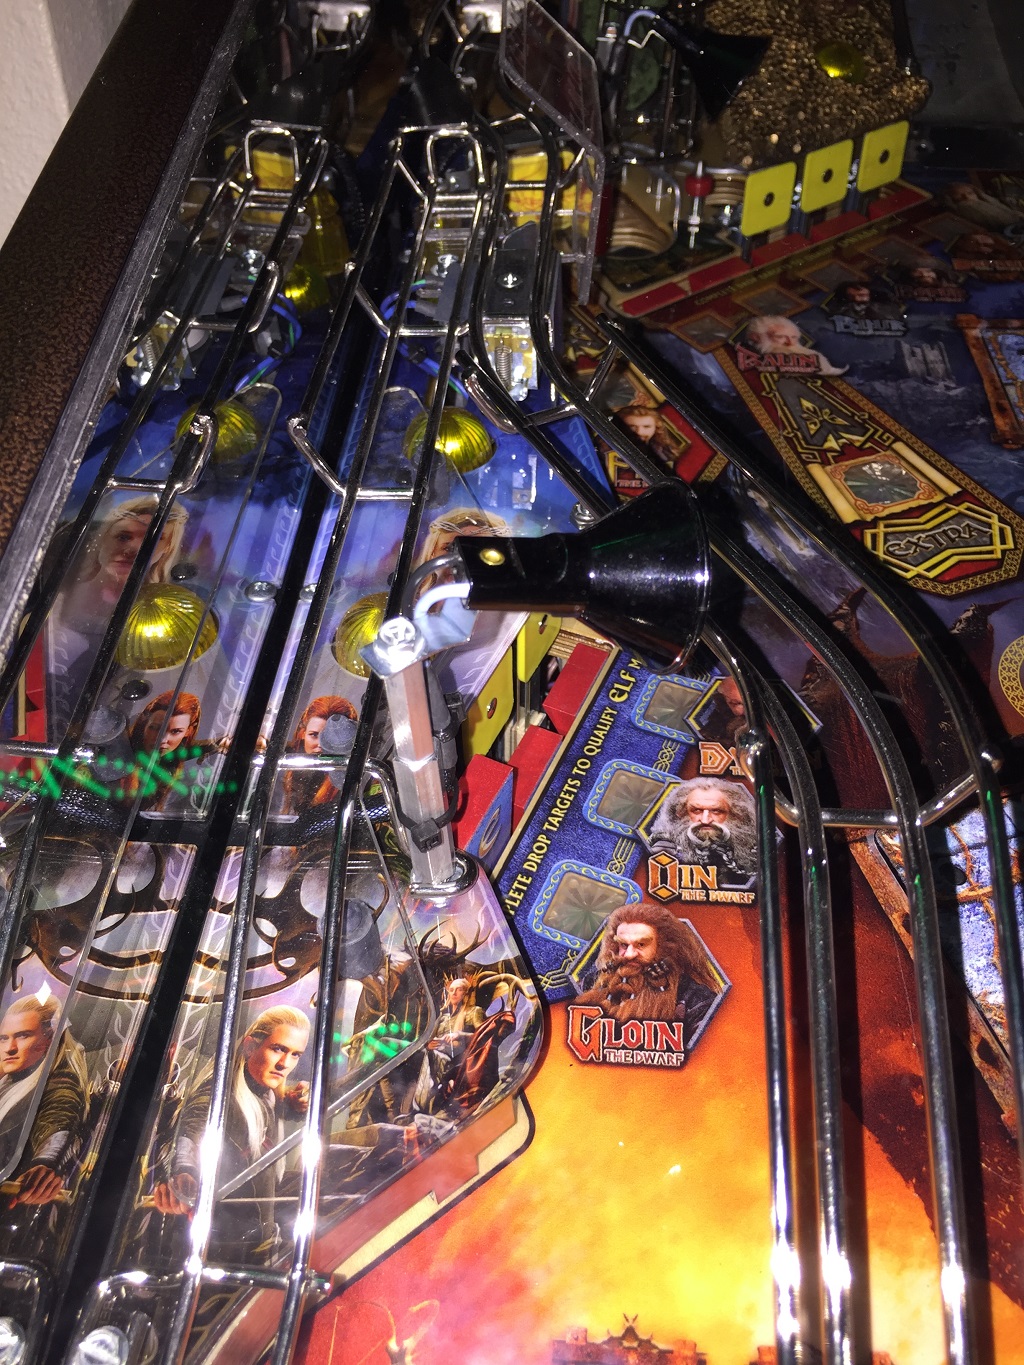
The next part of the kit updates the spotlights. We will use the game's existing spotlights for this. There are 4 in the game. Upper left (by smaug), lower left, upper right, lower right. We will replace the three bubs in upper right, lower right, and lower left with our brighter bulbs. We will also extend those spotlights higher for a smoother dispersion of light over the playfield. - First, unbolt the spotlight in upper right position. Attach two of our hex posts to the existing spotlight post and attach the JJP spotlight on top of that. If you gently stretch the wires, and cut the tie strap it should have enough slack to fit. Point the spotlight at the "O" or "C" in the lock rollovers.
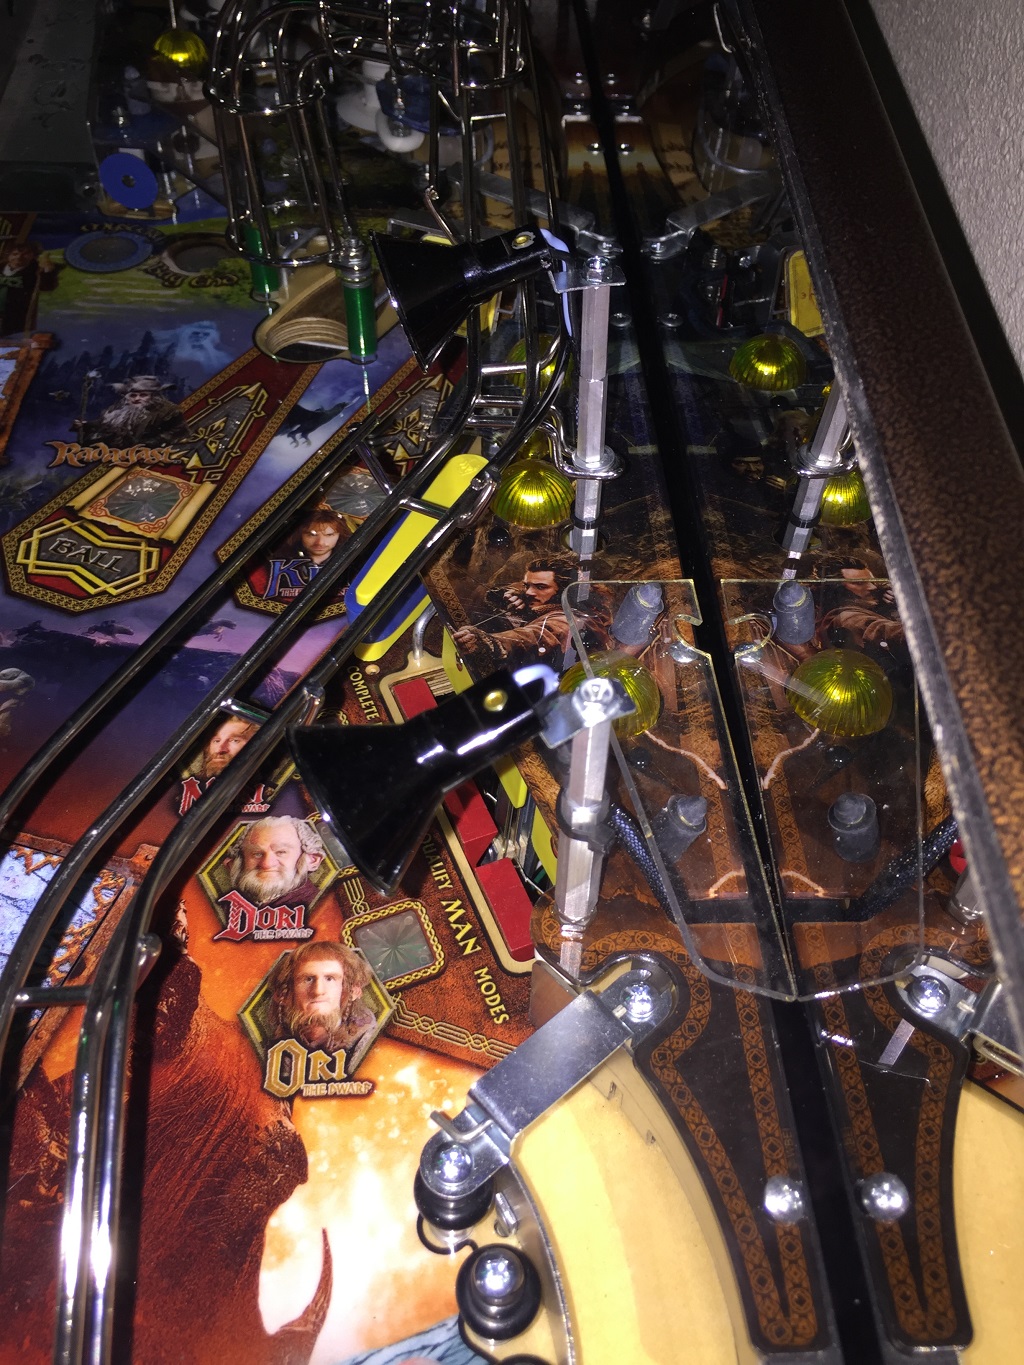
- next, repeat the above with the lower right spotlight, except only use one hex post. Point the spotlight at rectangular insert right below the right pop up (right below the triangle insert).
- Now repeat with the lower left spotlight, point that also towards the "O" and "C" of rollovers in middle of playfield.
- Finally, we need to swap the bulbs in those 3 spotlights. Pry out the hot glue and pull out the crappy bulbs JJP provides and replace them with our bright leds included.
- Here are some photos of the left and right spotlights to show how they should look and point after installation: